Aeropress: Little Coffeemaker that Could
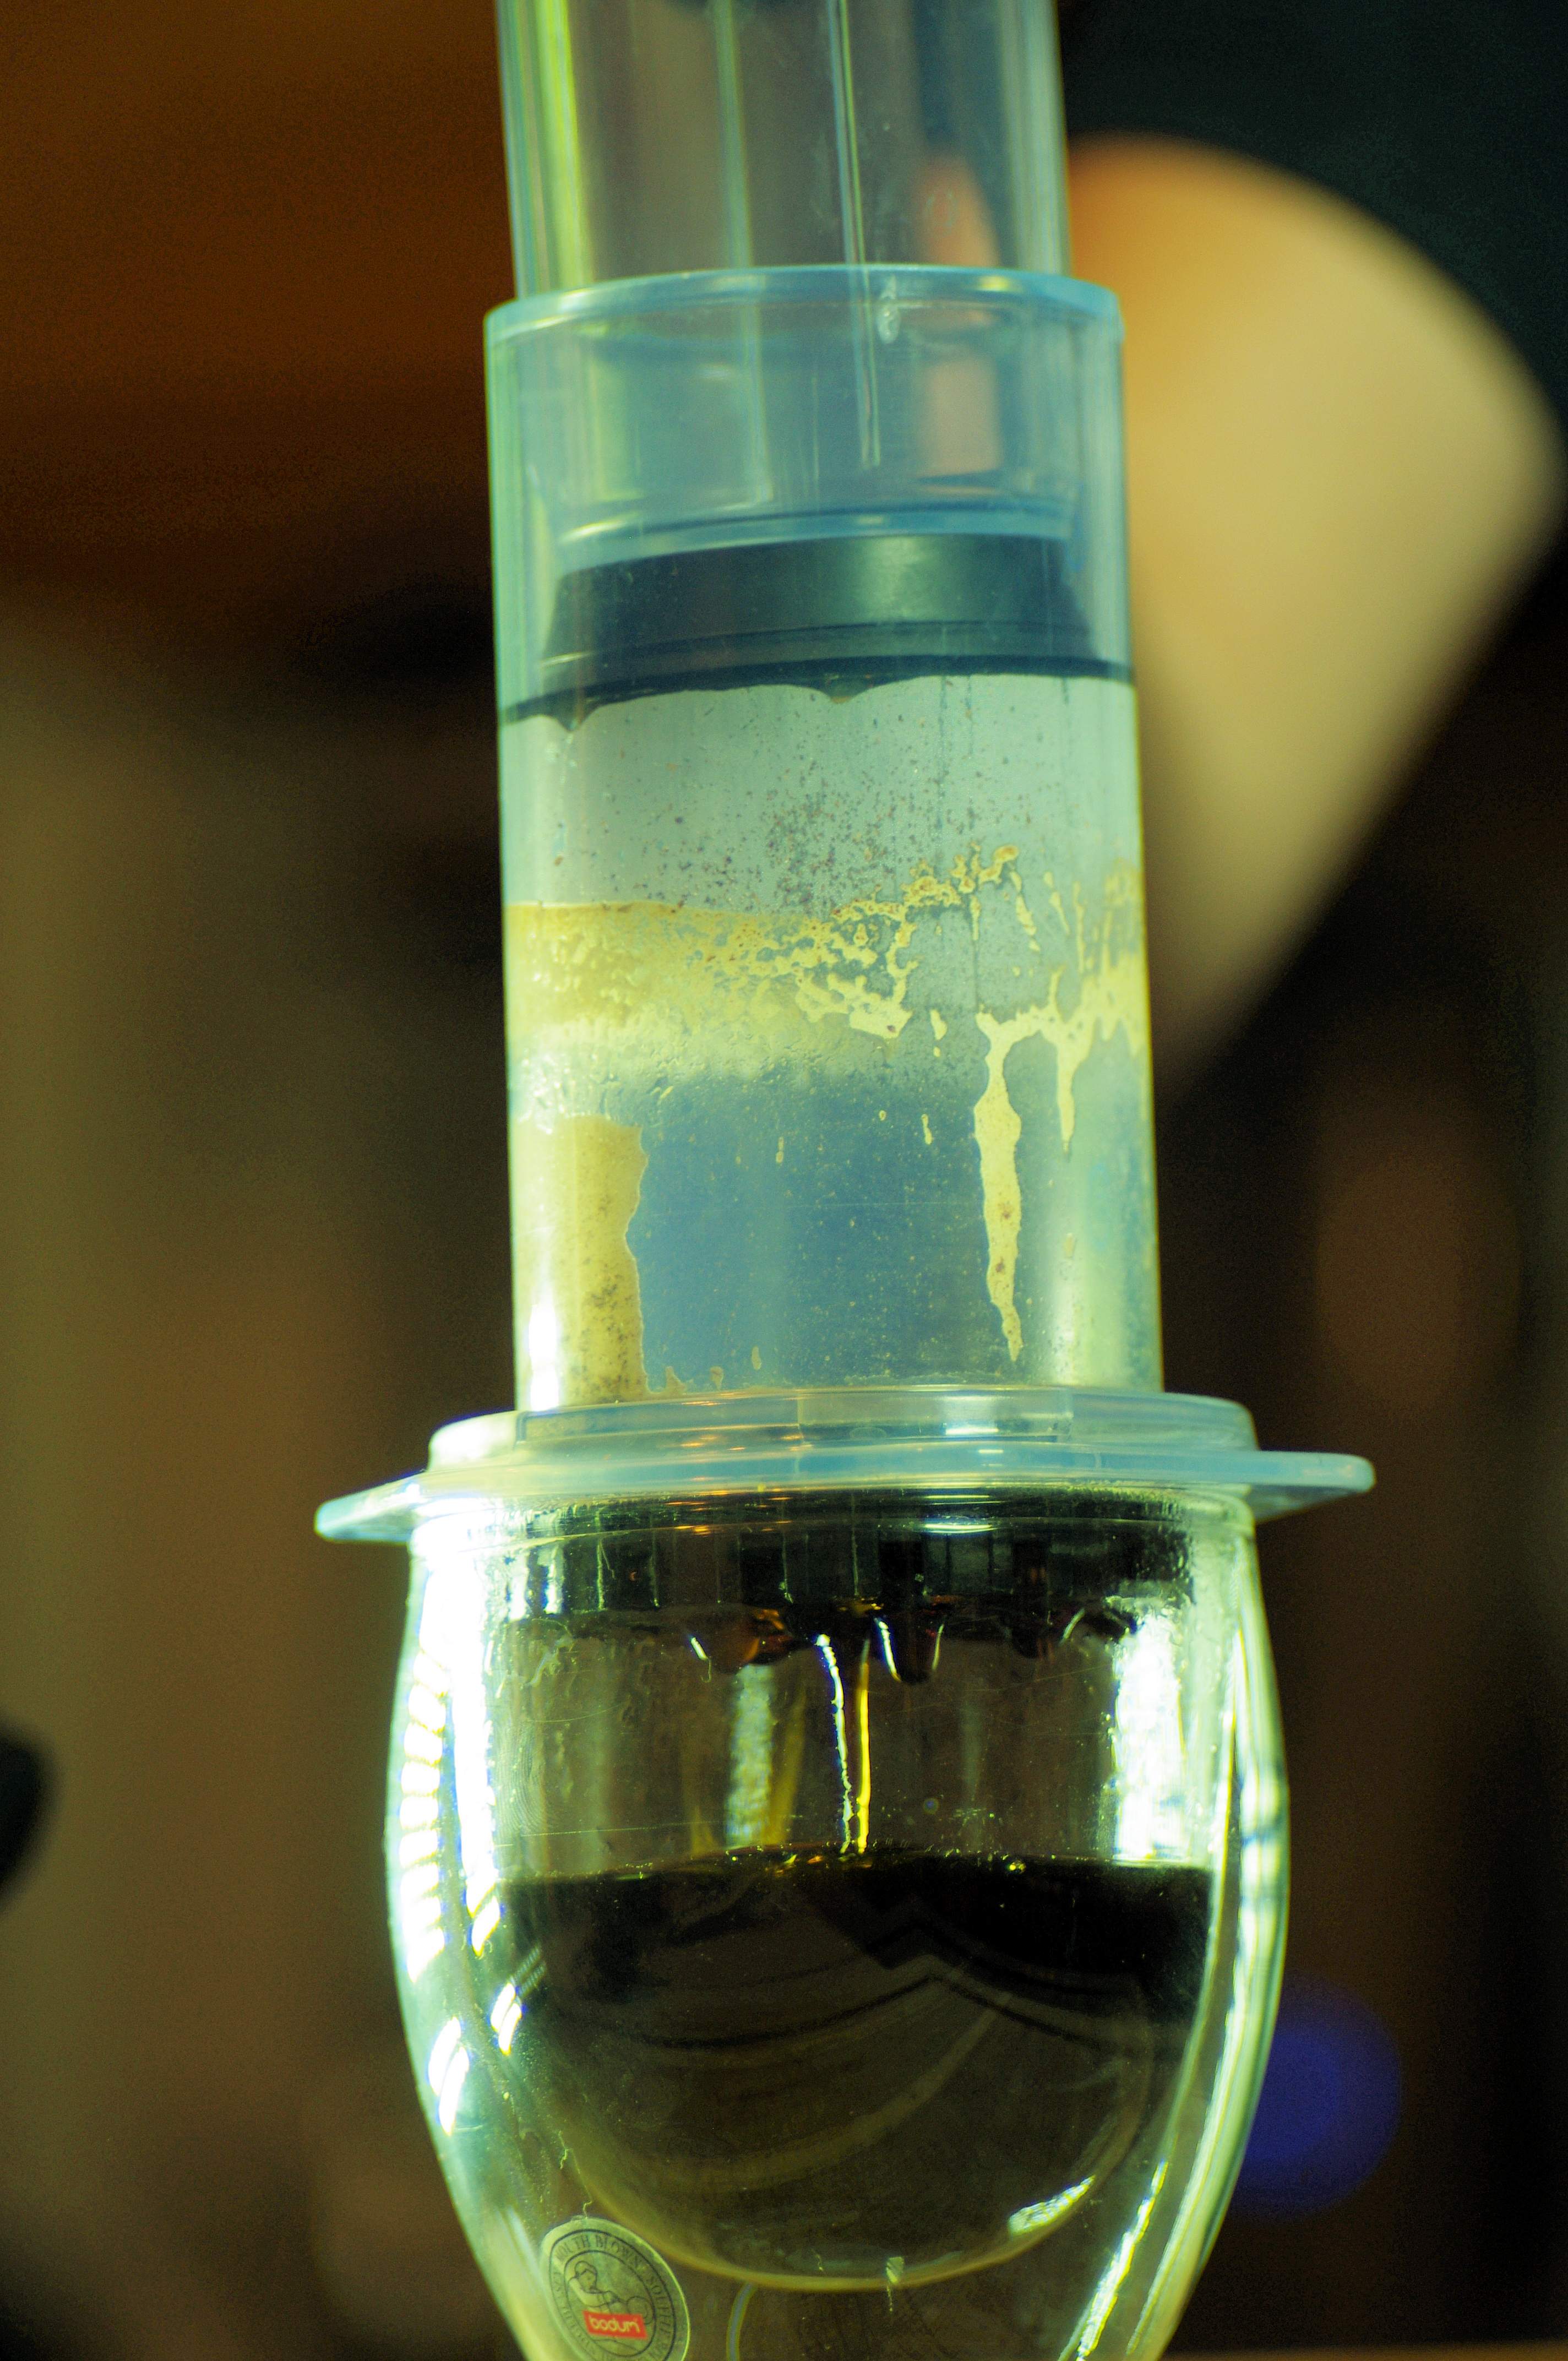 The Aeropress marks the longest I’ve ever waited for formally review a product. I met inventor Alan Adler nine or more years ago. We were introduced by then Bunn VP Aimee Markelz. Just to show how gracious some people can be even in an industry with such hot competition as coffeemakers, Ms Markelz was walking through the International Housewares show before showtime and spied this new coffeemaker. When I did my usual walkaround at Housewares she handed me a slip of paper with the Aeropress booth number on it. She told me she thought I’d find it interesting. I did. I do.
The reason I waited so long to review it? I guess I took it for granted. But now I feel a little guilty and negligent. Or it’s such an open-ended device it all depends on how you use it. Honestly, I can’t tell you why. Is it because it has no engine, no water heater? That can’t be. Neither does the Sowden SoftBrew nor does the Chemex. Is it due to it’s cost – as in low? Nope, I’ve reviewed the Melitta single cup, and I’ve packed three of them into knapsacks of my college bound sons.
So, let me stop the self analysis and proceed to make amends for my lengthy review time. The Aeropress, though wholly innovative and original in its design, seems to provide the features of all the world’s coffeemakers through time. Like a modern Hollywood film, it has elements of all that came before it in its genre. The Aeropress has some elements of the French press, namely the press, both in name and procedure. The Aeropress has elements of the Chemex, particularly in its filter and its brewing temperature recommendations. Finally it has elements with the vacuum or siphon coffeemaker, mainly its mass-compressed grounds puck.
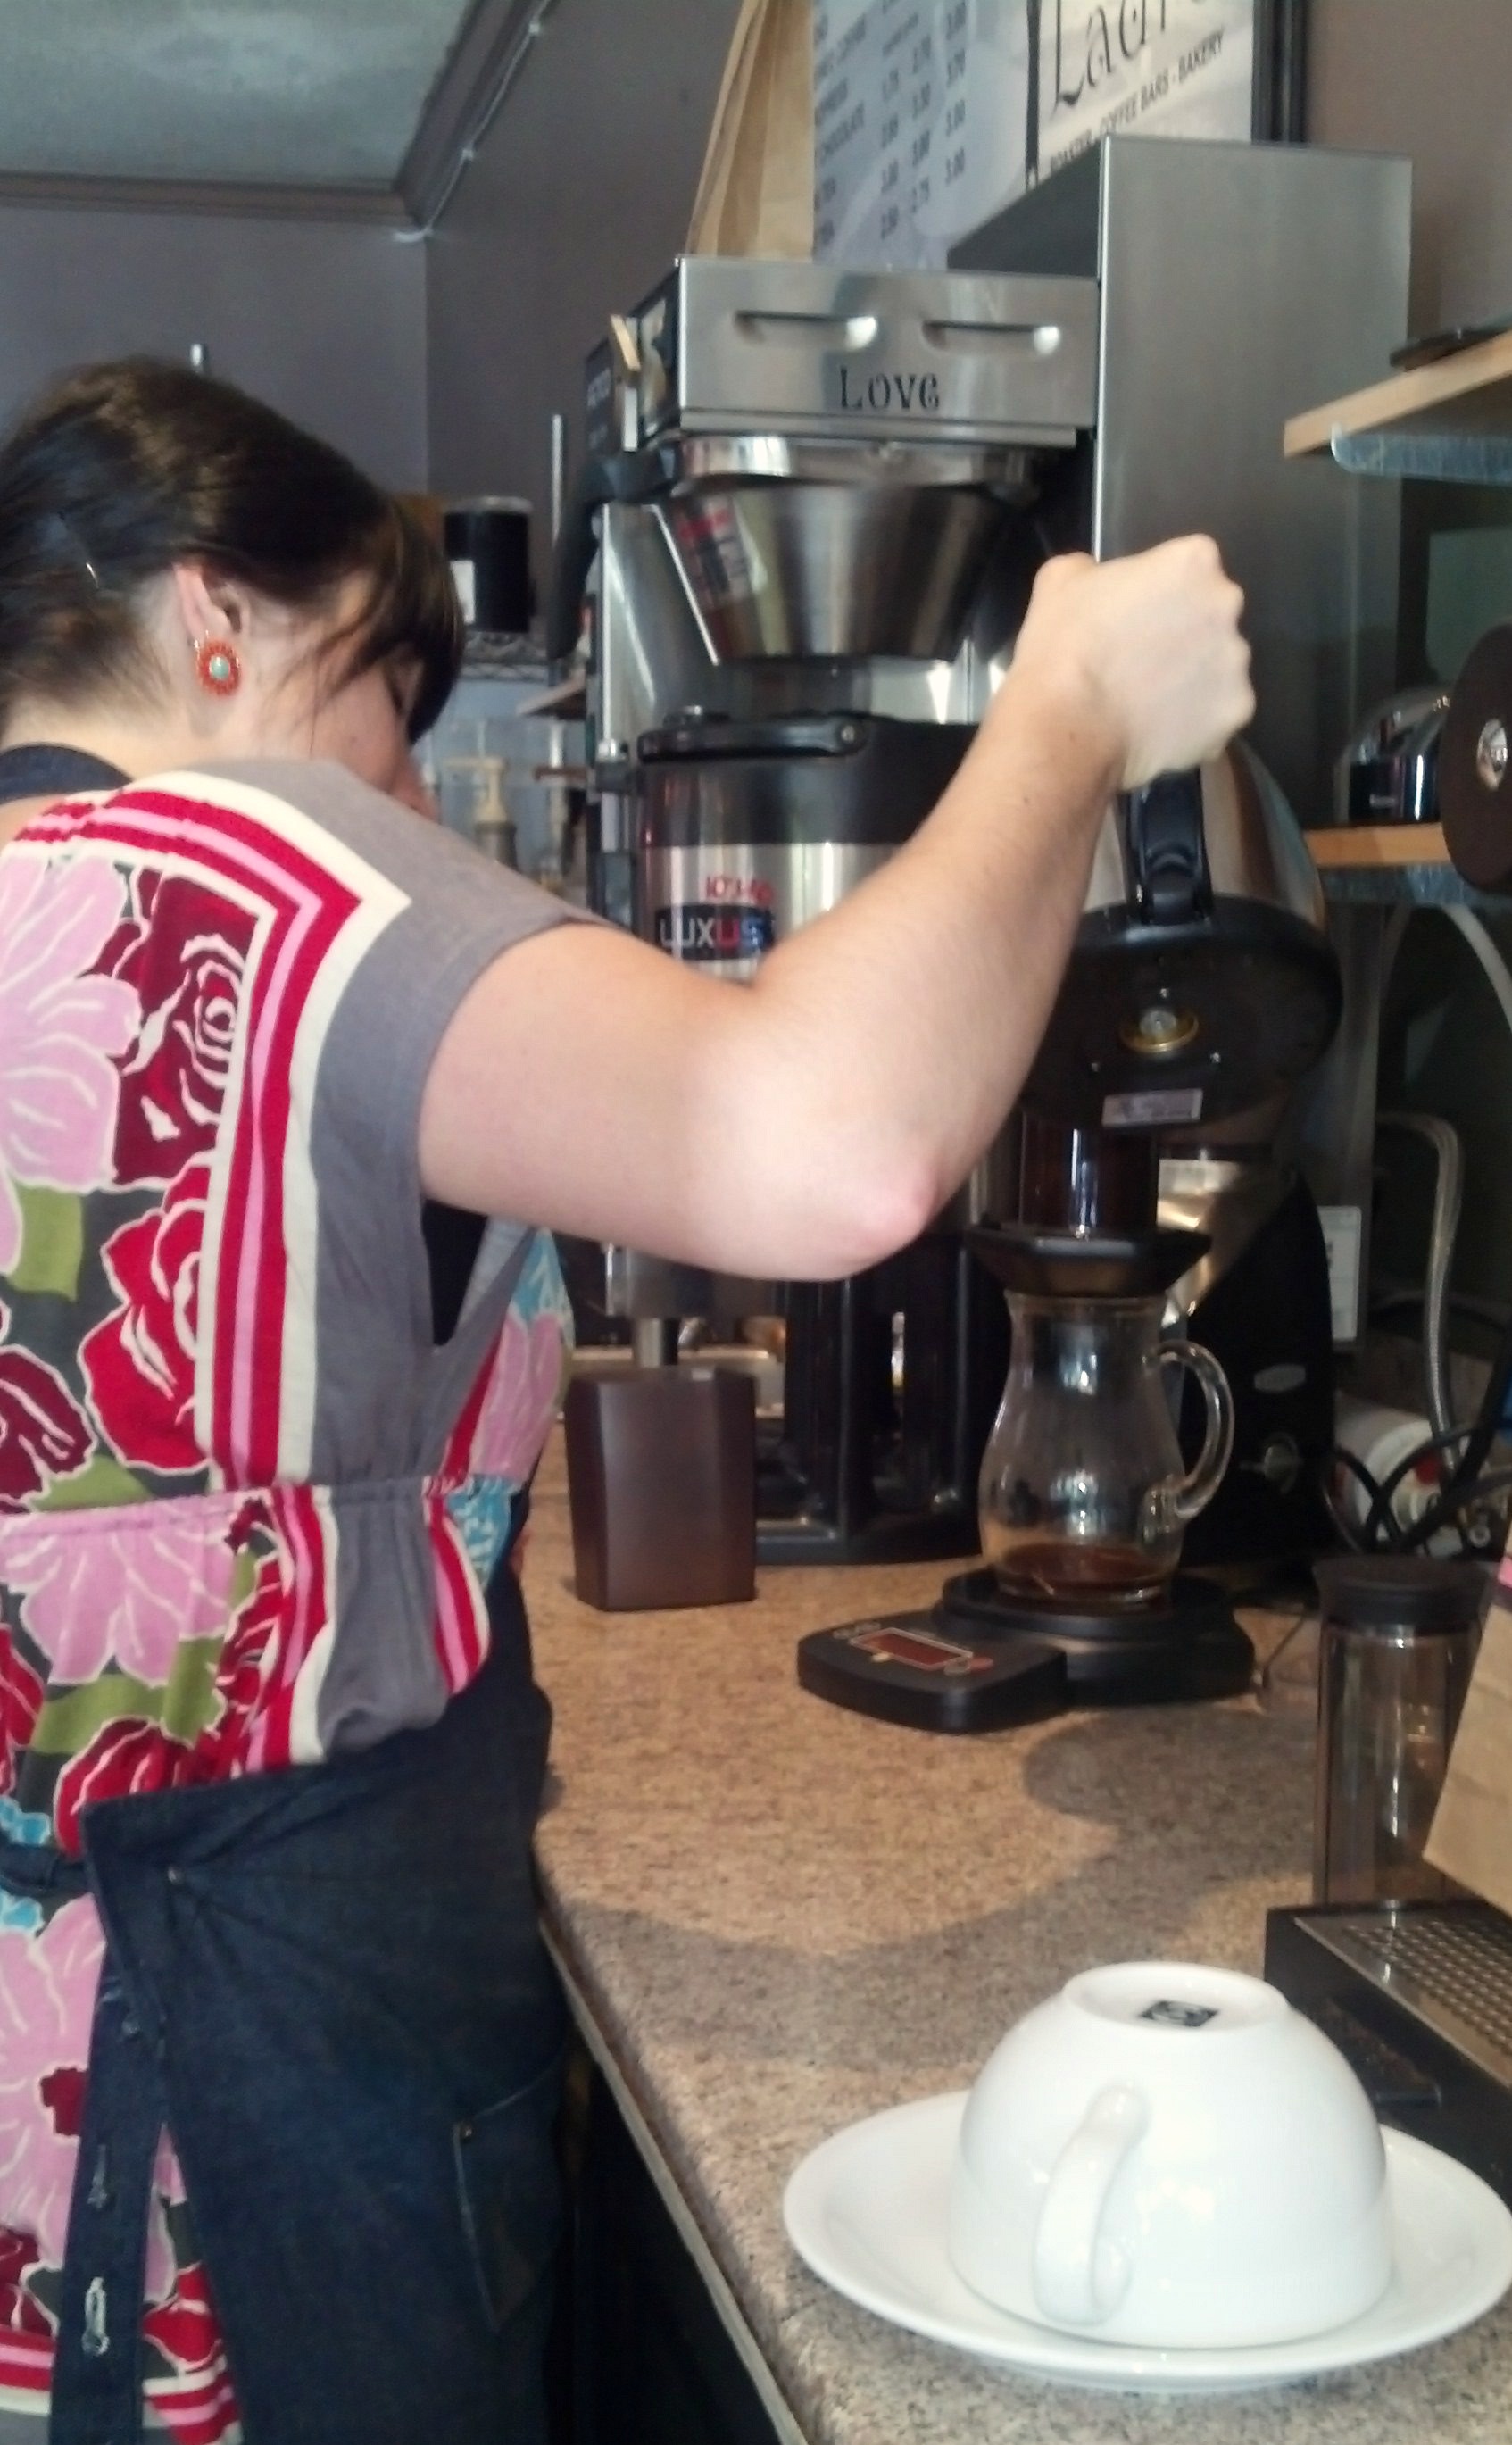
The Aeropress is perhaps the ultimate flexible coffeemaker. It can be used conventionally, where it gives the impression of being a somewhat leaky manual drip maker. It can be inverted, placed upside down, its filter cap removed and it becomes a settling tank where coffee is steeped like a tea before its cap is replaced, it is flipped over and then pressed to completion. Which is it for me? I’ve spent several years in each camp. Finally (or just lately?)
I’ve settled on the conventional method. I believe I’d done this out of simplicity, and perhaps a little out of my desire to set the record straight on what I consider the Aeropress myth of being a leaky drip maker. When people pour a little hot water into the Aeropress and stir so that the grounds get plenty wet and are allowed to swell and settle before the press is used, a minute amount of water travels through the grounds and out through the filter and into your cup. There is nothing about this that is going to affect your coffee end result. It is no different than the initial drips of any drip coffee maker. Coffee is all about grounds/water contact time and nothing else.
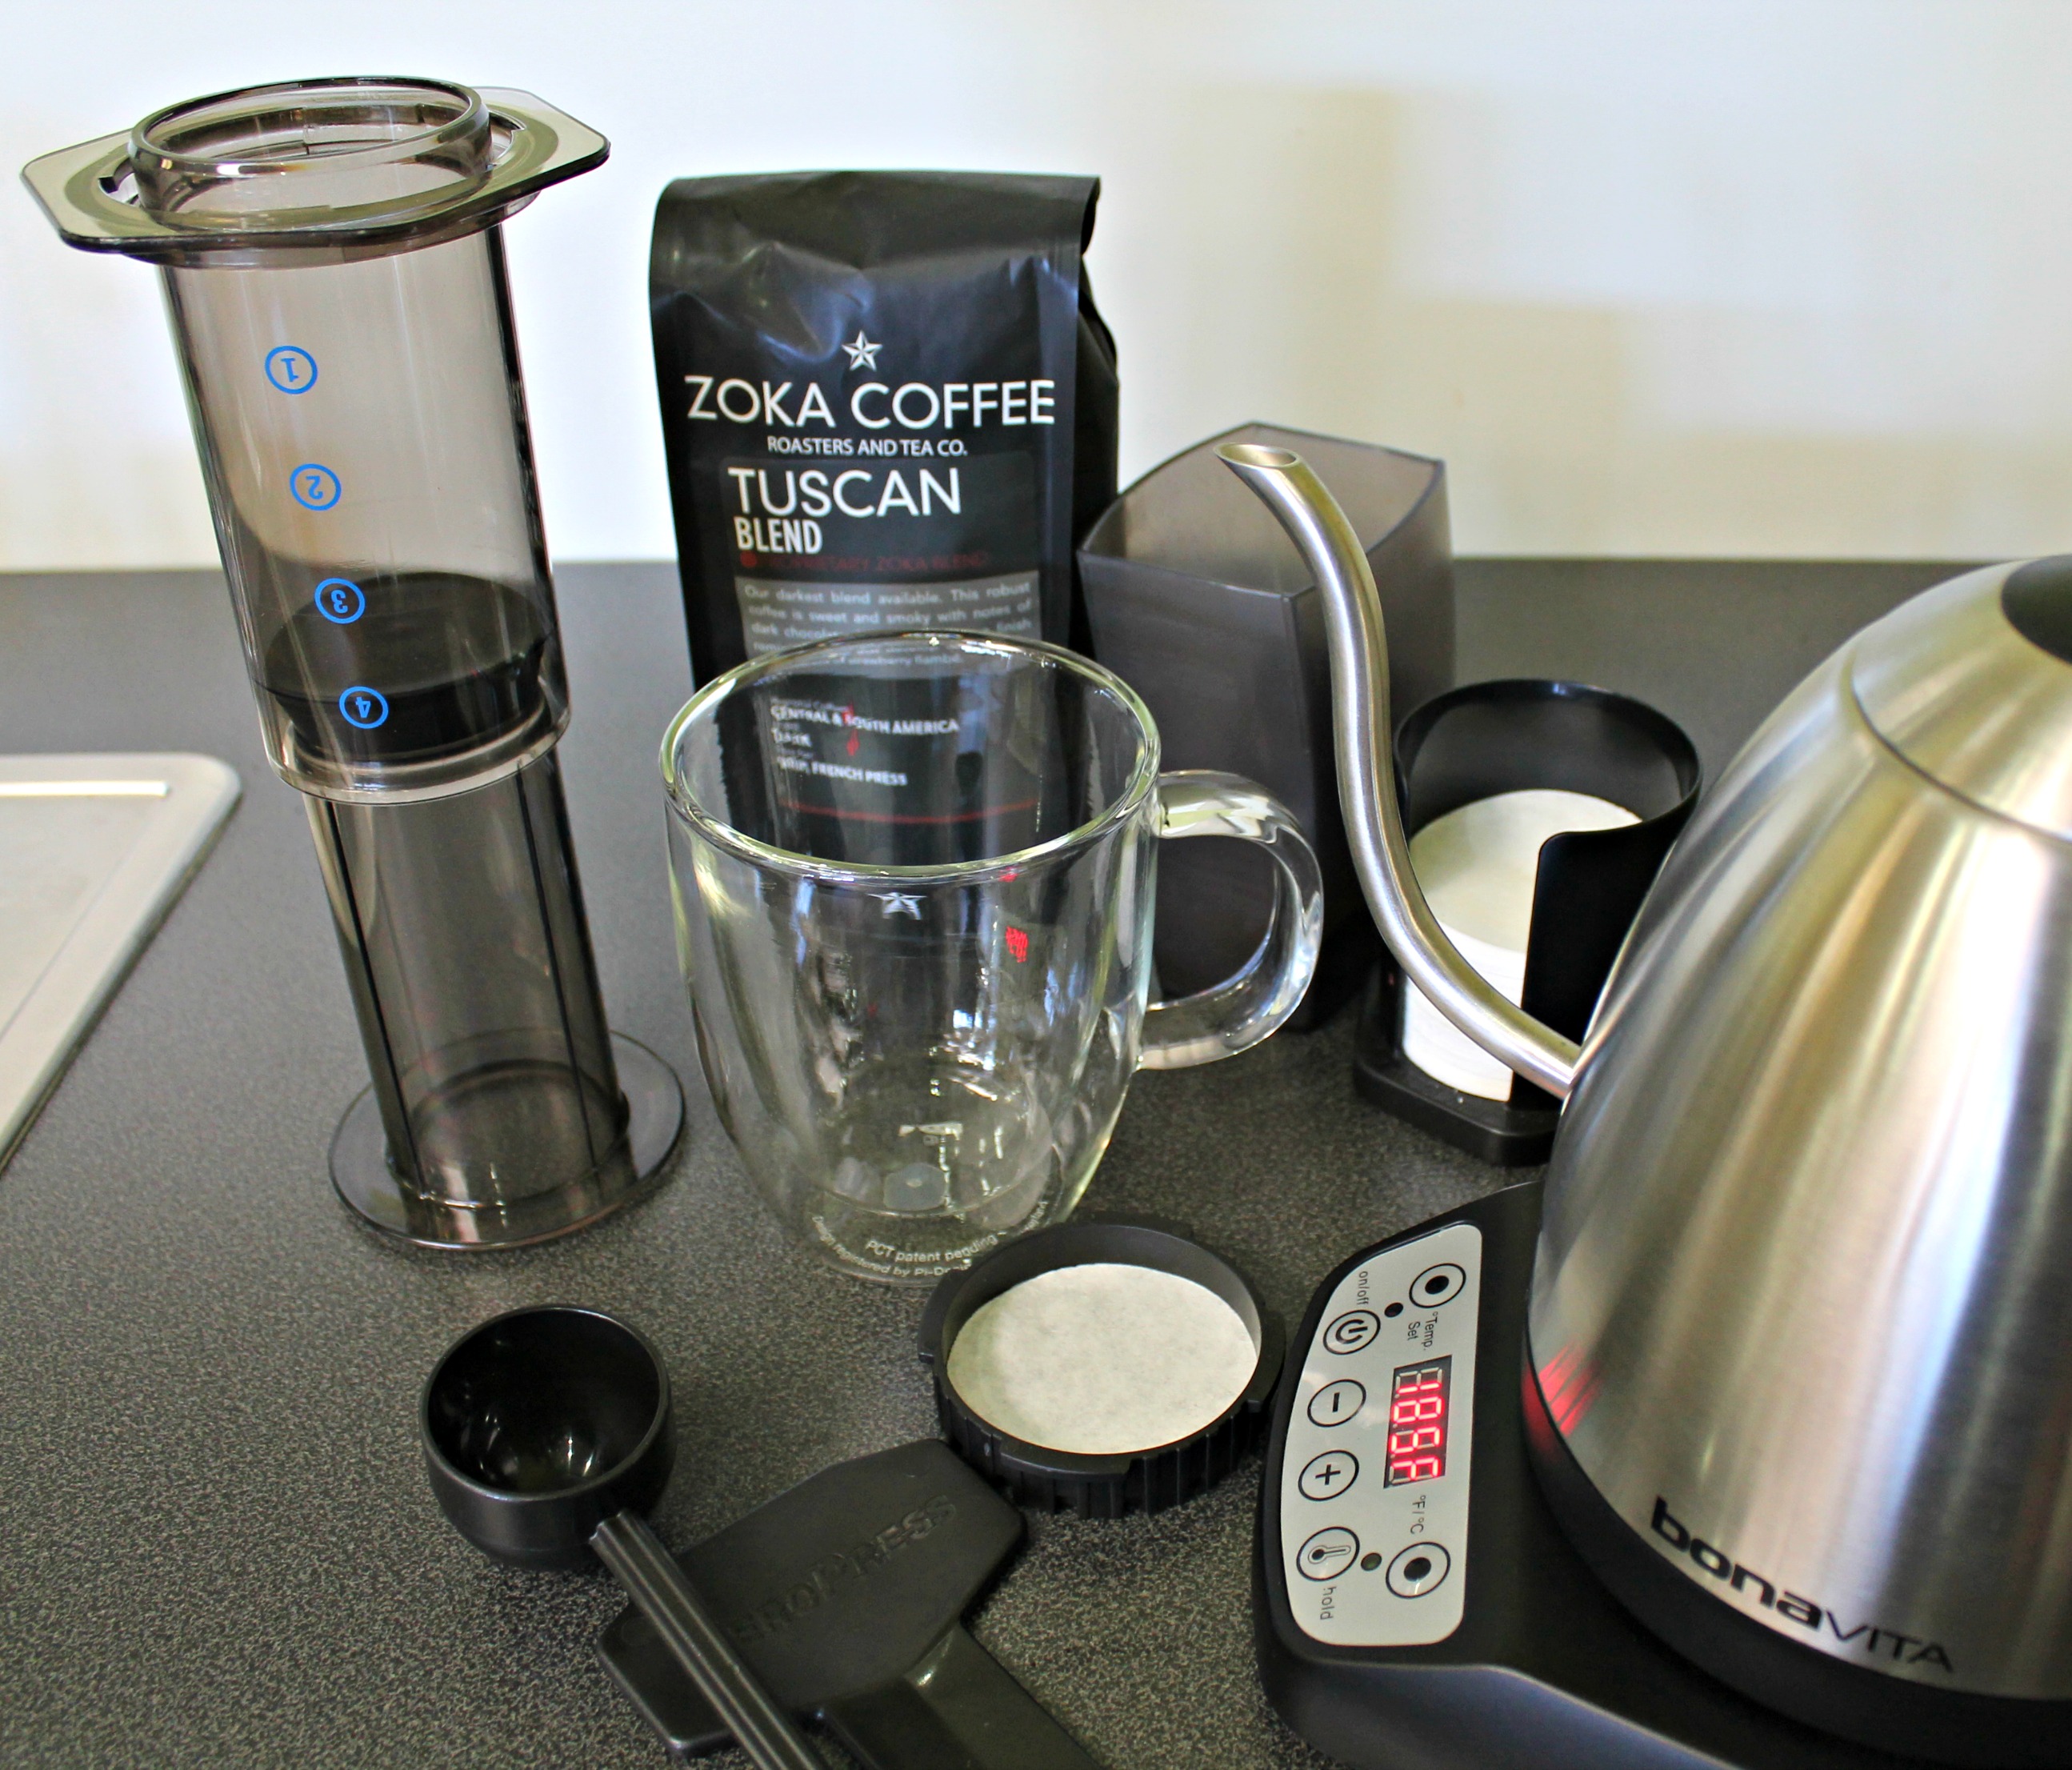
Aeropress brewing temperature is, or should be, controversial. I know it’s manual so you can use whatever your lil’ water heatin’ vessel can provide. I have a fancy schmancy BonaVita kettle with dial and hold temperature settings. Inventor Alan Adler says Aeropress competitions tend to be won at brewing temps of 185°F for the super light roasted coffees and 175°F for medium to dark roasts. What does all this mean to the coffee industry, who’s fought so long and hard to convince us to brew hotter into their 10 degree (195F-205F) window? That’s a tough question and likely a subject for a different article. For the moment I’m going to use the ole’ reviewer copout #7 that we should view the Aeropress on its own terms. Of course you can use your Aeropress at whatever temperature you prefer, but after a number of tests in my kitchen, I’m inclined to operate mine at the light roast winning temperature: 185°F.
Speaking of roasts, here are some coffees that I tested:
- George Howell Coffee’s La Minita I got spectacular results with this coffee. Man that is one complex beverage as brewed in the Aeropress. Like a great symphony orchestra, La Minita’s Bill McAlpin is unable to create a bad note. This coffee, third wave light roast and all, is just a perfect match for the Aeropress. Did I hear chocolate? I know most coffees give this note at this brewing temperature, but it’s the quality of chocolate note that this coffee provides.
- Sight Glass Colombian Finca Alcatraz – I recently became smitten with this coffee in all brewing methods. I don’t know what to say except I just enjoyed its richness and cocoa and nougat notes. I admit I feel the lush fruit notes are boosted by moving the brewing temperature back into the 190°s.
- Counter Culture Finca El Puente Honduras – I couldn’t resist trying some coffee farmed by CoffeeCon presenters Marysabel Caballero and Moisés Herrera and their latest coffee. Counter Culture roasted it at the light end, although to be fair, not too light, which I found to be a perfect match for Alan’s observed 185°F brewing temperature. Okay, I probably sneaked up to 190°F. I got that black cherry flavor kick right away.
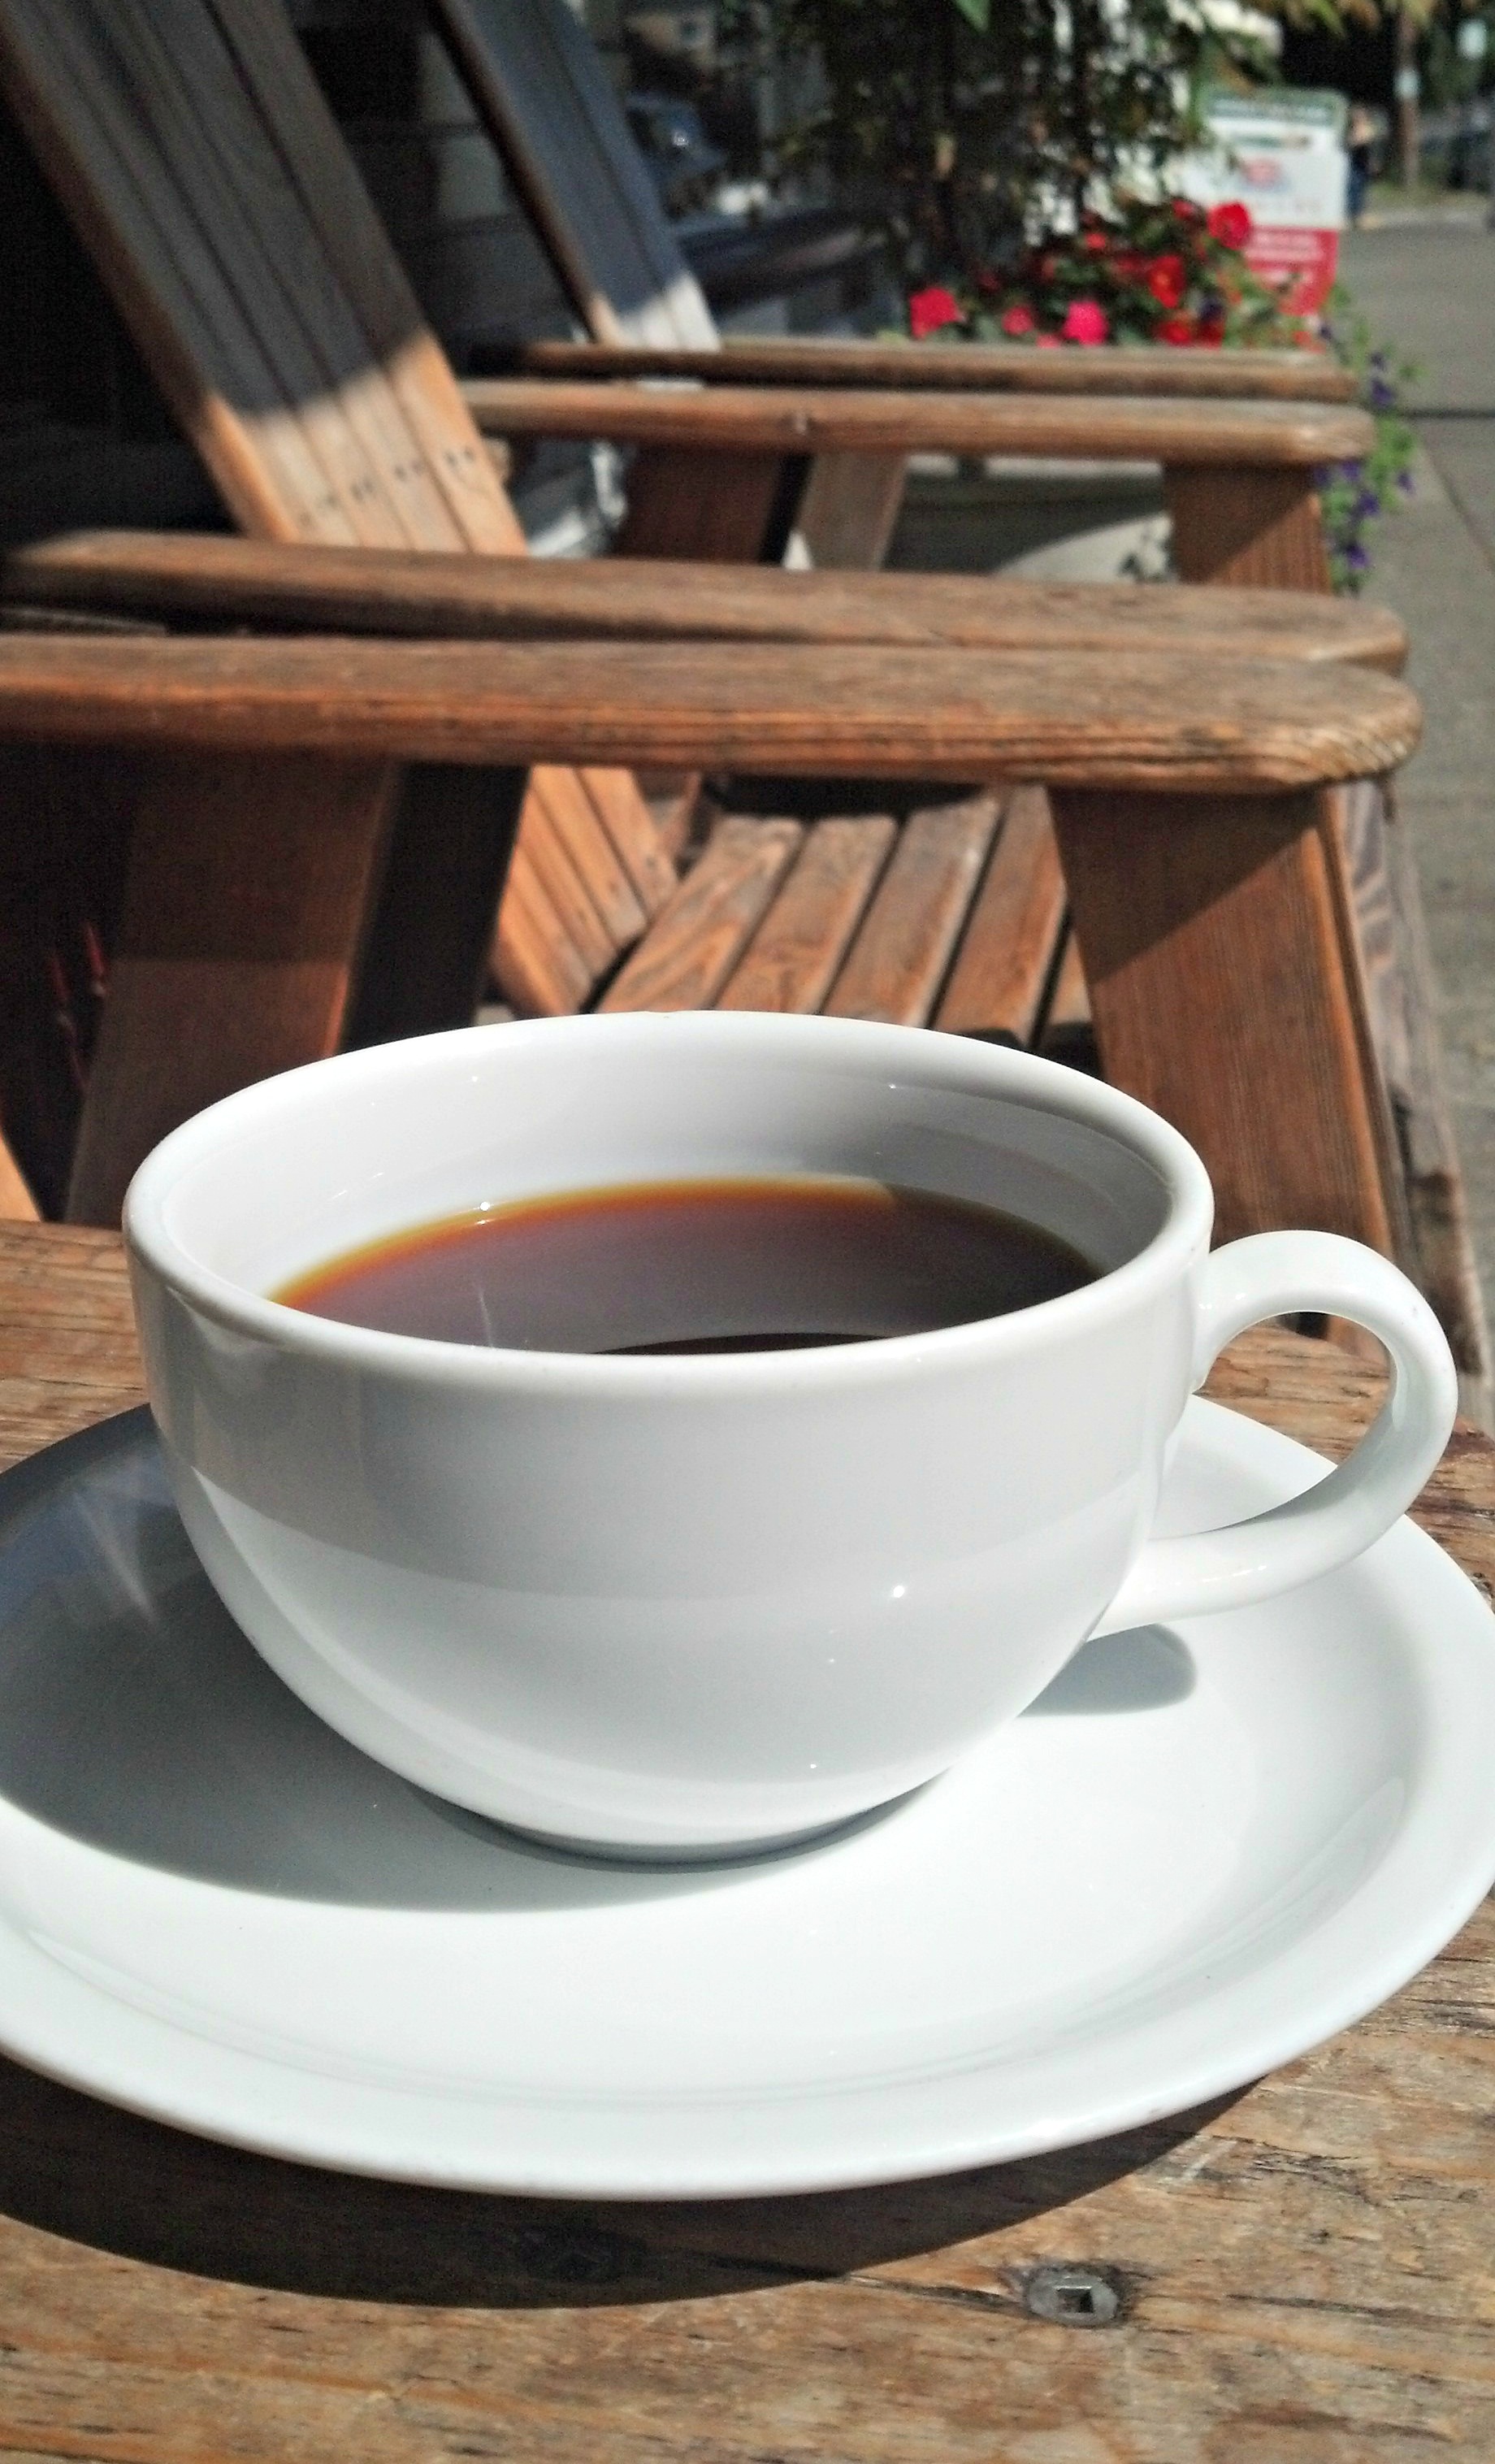
Conclusion: The Aeropress is just a wonderful brewer. If you are caught between gigs, you likely can afford it. It is easy to use, to clean up. And, it delivers an ultra clean taste, with plenty of viscosity but virtually no sediment. If this is the cup you seek, the Aeropress is a brewer used must have in your brewing arsenal. Period.
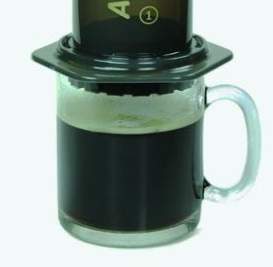
Photo note: Aeropress Inventor Alan Adler says, “I do like clear glass which reveals the flow (drip), but recommend a wide-bottom, sturdy mug like the attached pic.”