by Coffee Kevin | Jun 1, 2017 |
Can you really make automatic coffee that tastes as good as the best manual hand-brewed? Let’s just say it is possible. To illustrate this claim, I chose the Bonavita BV 01002 to demonstrate the possibility. It meets the stringent Specialty Coffee Association (SCA) standards. Most automatic drip brewers do not. It is simple to use and pretty un-tweaky as well. Frankly, other than having to measure grounds and grind the coffee separately, it’s as easy to use as a K-cup brewer. It works great as is. But, I have found some nips and tucks to my procedures that lift it to match my best manual brew results and I thought I’d share them.
I’m sure you’re already aware that I’m a big fan of this brewer. So is George Howell who uses it to accompany his tasting seminars at our CoffeeCon events. But, if someone were to ask exactly how I make coffee with this automatic drip machine it would be as follows:
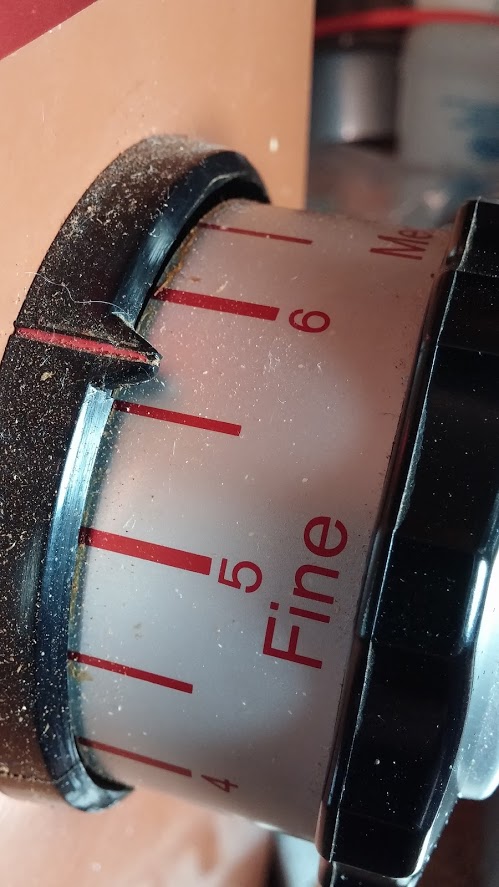
 Grind – If you’ve been with me for awhile, you know I advocate erring a notch coarser when using most brewers. But I also advise playing around with grind and, once in a while, it pays to just experiment a notch at a time. For instance, with this brewer I go one notch finer. That may be because I don’t usually make a full 8-cup batch, but rather fill the water only to the 1 liter mark. Just so you understand the testing procedure for SCA certification, brewers must make their coffee, start to finish, within six minutes. So when you make approximately 25% less, it’s likely that it will be a little rushed traveling through the grounds. I’ve found by grinding slightly finer I slow the drip rate and this increases brew strength. If I make a full batch I coarsen the grind slightly.
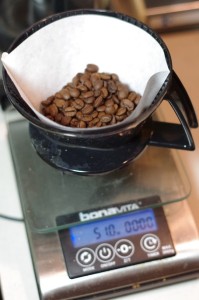 Recipe Measurements – Consider that we may have gone from using too few grounds to using too many. Maybe this brewer does such an efficient job it does not need the requisite 55 grams specified for a liter of coffee. If you make one liter, I suggest you try using 50-51 grams. I found this to be the best recipe. I discovered this by accident as I only had 50 grams left of a particularly memorable ReAnimator coffee when a friend arrived for a visit and a cup. Since I needed to make one liter, I decided to chance it. To my surprise I preferred it using this formula.
Pre-infusion – This brewer has a pre-infusion stage, which drips a few ounces of water over the grounds to saturate them before the majority of water is released and dripped over the grounds. I strongly recommend using it if your coffee is fresh, meaning just a week or two from its roast date. If your grounds are older than this, or you use pre-ground coffee, you may skip this stage, although it won’t hurt, so if in doubt, use it. Its purpose is to allow the coffee to de-gas, which prevents foaming up and potentially spilling over the filter holder’s top edge. Pre-infusion also allows it to de-gas and settle down before the majority of water drips through, which actually helps facilitate the extraction process.

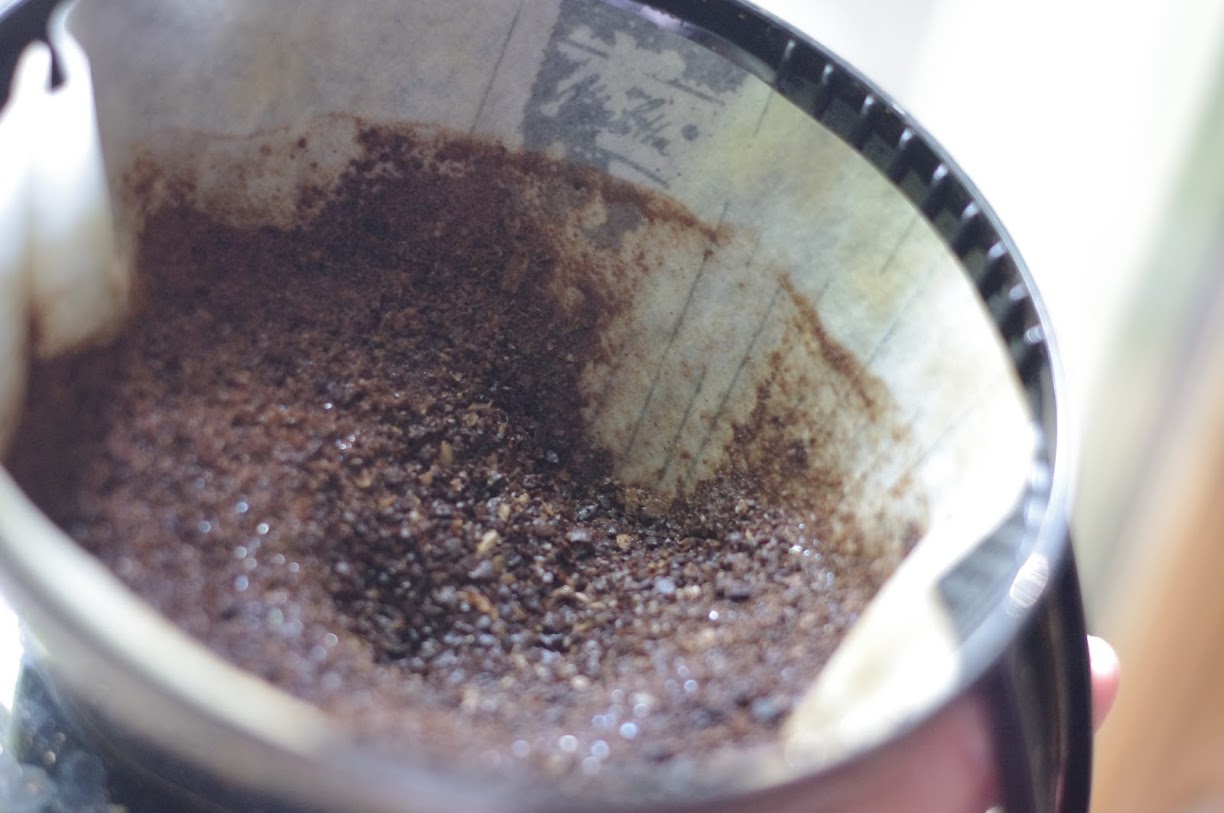
Filter holder – If there’s one area where manual drip still reigns supreme it is the end user’s manual water dispersion over the grounds and subsequent even extraction. Fortunately, the Bonavita already does a good job dispersing the water. But, for a perfectionist end-user, we are able to occasionally swivel the filter holder to vary the showerhead’s position over the grounds. This is kind of tweaky, but shows to what extent I’ve played with mine over the years. I would not expect this tweak to make a night and day difference with this maker, but it is a slight tweak and just goes to ensure that all the grounds get wet. If someone told me this is too far to go to make coffee, I’d likely agree. But, I do it. Look at my “after” photo of the grounds post-brewing and see if yours matches. Again, if it’s too much, skip this if you like.

I define tweaks as anything I do beyond the instruction manual, that appears to make a better pot of coffee. This brewer is noteworthy in that none are necessary for it to perform its stuff. But, I’m comparing to the best manually brewed coffee I’ve ever had. That fact that it’s that close to perfection already is impressive. I simply believe I can match that perfect flavor with this brewer, with just a little attention to details.
What are your tweaks?
Podcast: Play in new window | Download
Subscribe: Android | Email |
by Coffee Kevin | Nov 27, 2015 |
 The missing mystery element in brewing is the grinder. There. I said it. Just like every heart doctor wonders if their newly released open-heart patient will exercise, every priest wonders if the just-forgiven sinner will truly repent and change their lifestyle, the coffee roaster must wonder how you’ll grind their beautiful fresh beans before brewing. To accomplish this you must have a good grinder. The word ‘good’ means it can effectively divide the bean into evenly-sized close-to-the-same-shape particles, and be as free as possible of the powdered particles the industry calls “pan”.
I often say that you can make excellent coffee using a simple Melitta manual drip cone, which retails (with a ceramic mug) for around $10. But, a grinder, now that’s a different story. Grinders at the lowest price end simply don’t perform well enough to be a fully functioning member of Team Coffee Brewing. Why is this? Let’s take it away from coffee to explain. If you’re making a stir fry, you know you must strive to consistently cut the vegetables. The reason you want them the same size is the heat will affect them evenly if they are. You’ll get cooked, crunchy vegetables. If they aren’t evenly sized, extremely large pieces won’t cook through and small ones will be overcooked.
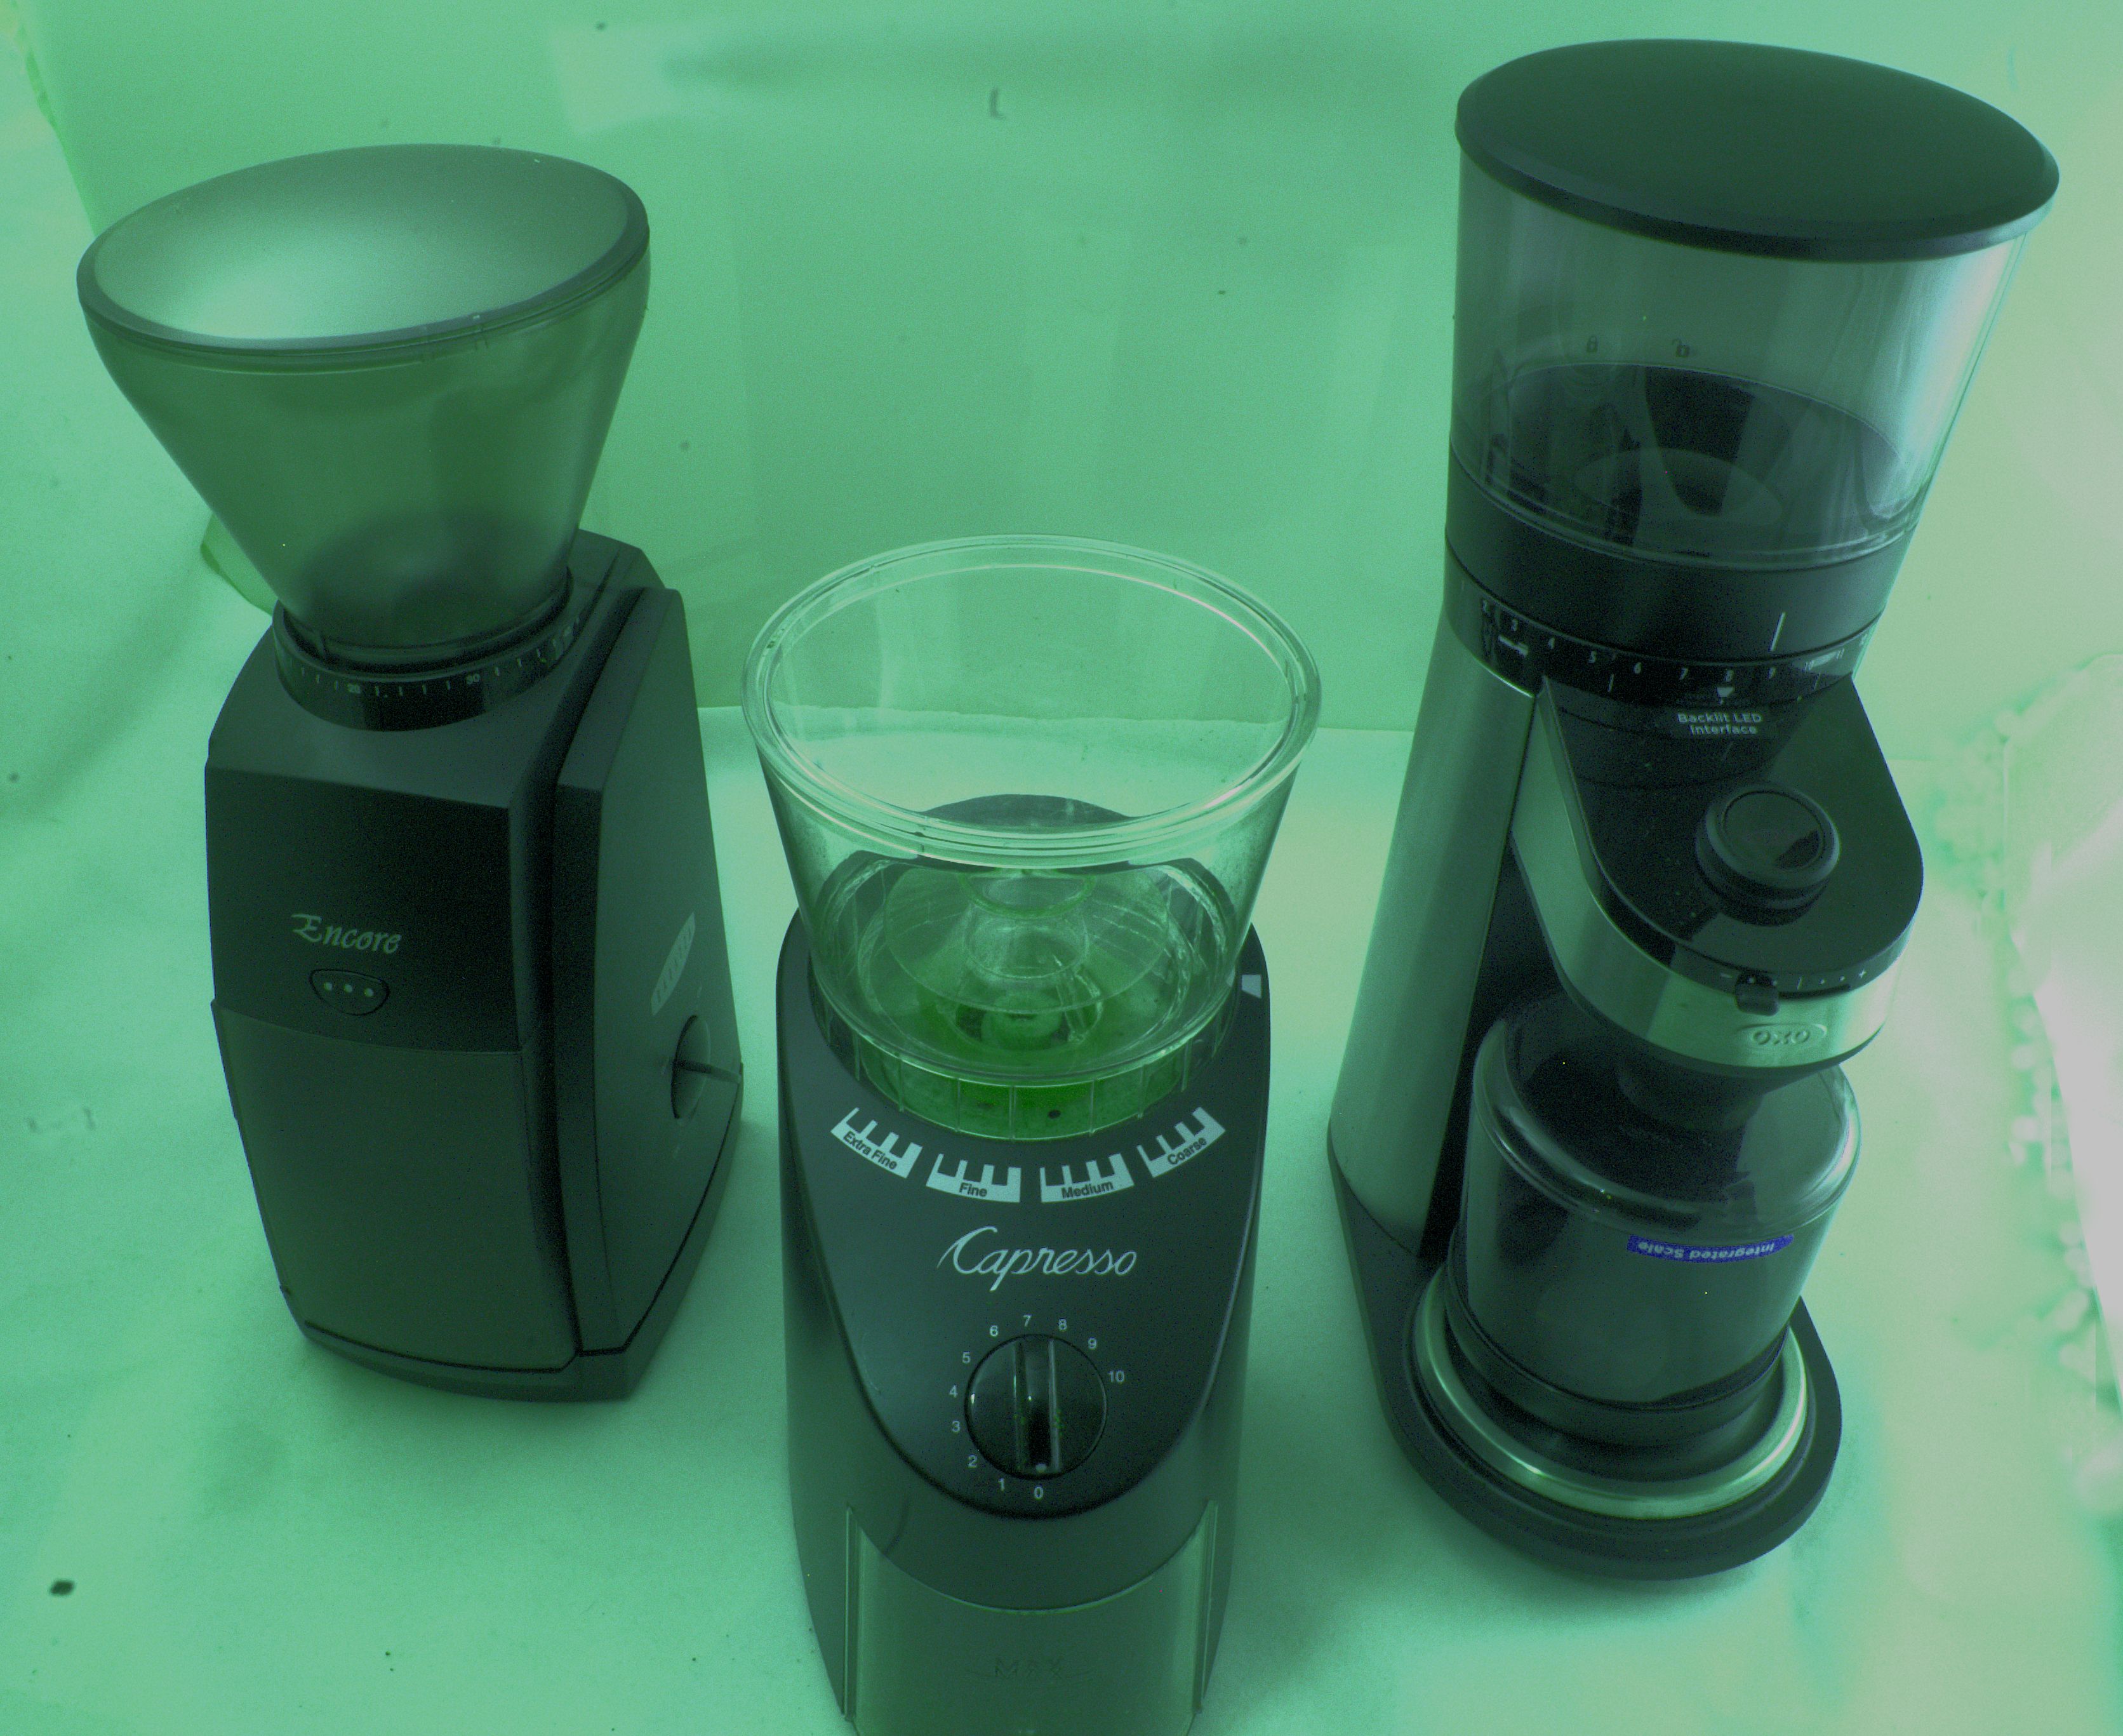
In ideal coffee grinding, the pieces will also be the same size. This is necessary because contact time is identical for all those pieces. Larger pieces cause waste; you are not getting all their flavor; too small pieces will be over-extracted and dreaded bitterness occurs. The best grinders are produce grind size uniformity. The worst performing grinders are blade grinders. It is impossible to expect otherwise, as the blade is spinning and the beans are repeatedly and randomly struck. To expect any kind of uniformity is to expect order from chaos. Most readers here are not surprised at anything I’ve so far said, so let’s get going into examining these three grinders. They are all known as entry level, meaning they are lost-cost, but they are from well-regarded manufacturers serving the specialty coffee market.
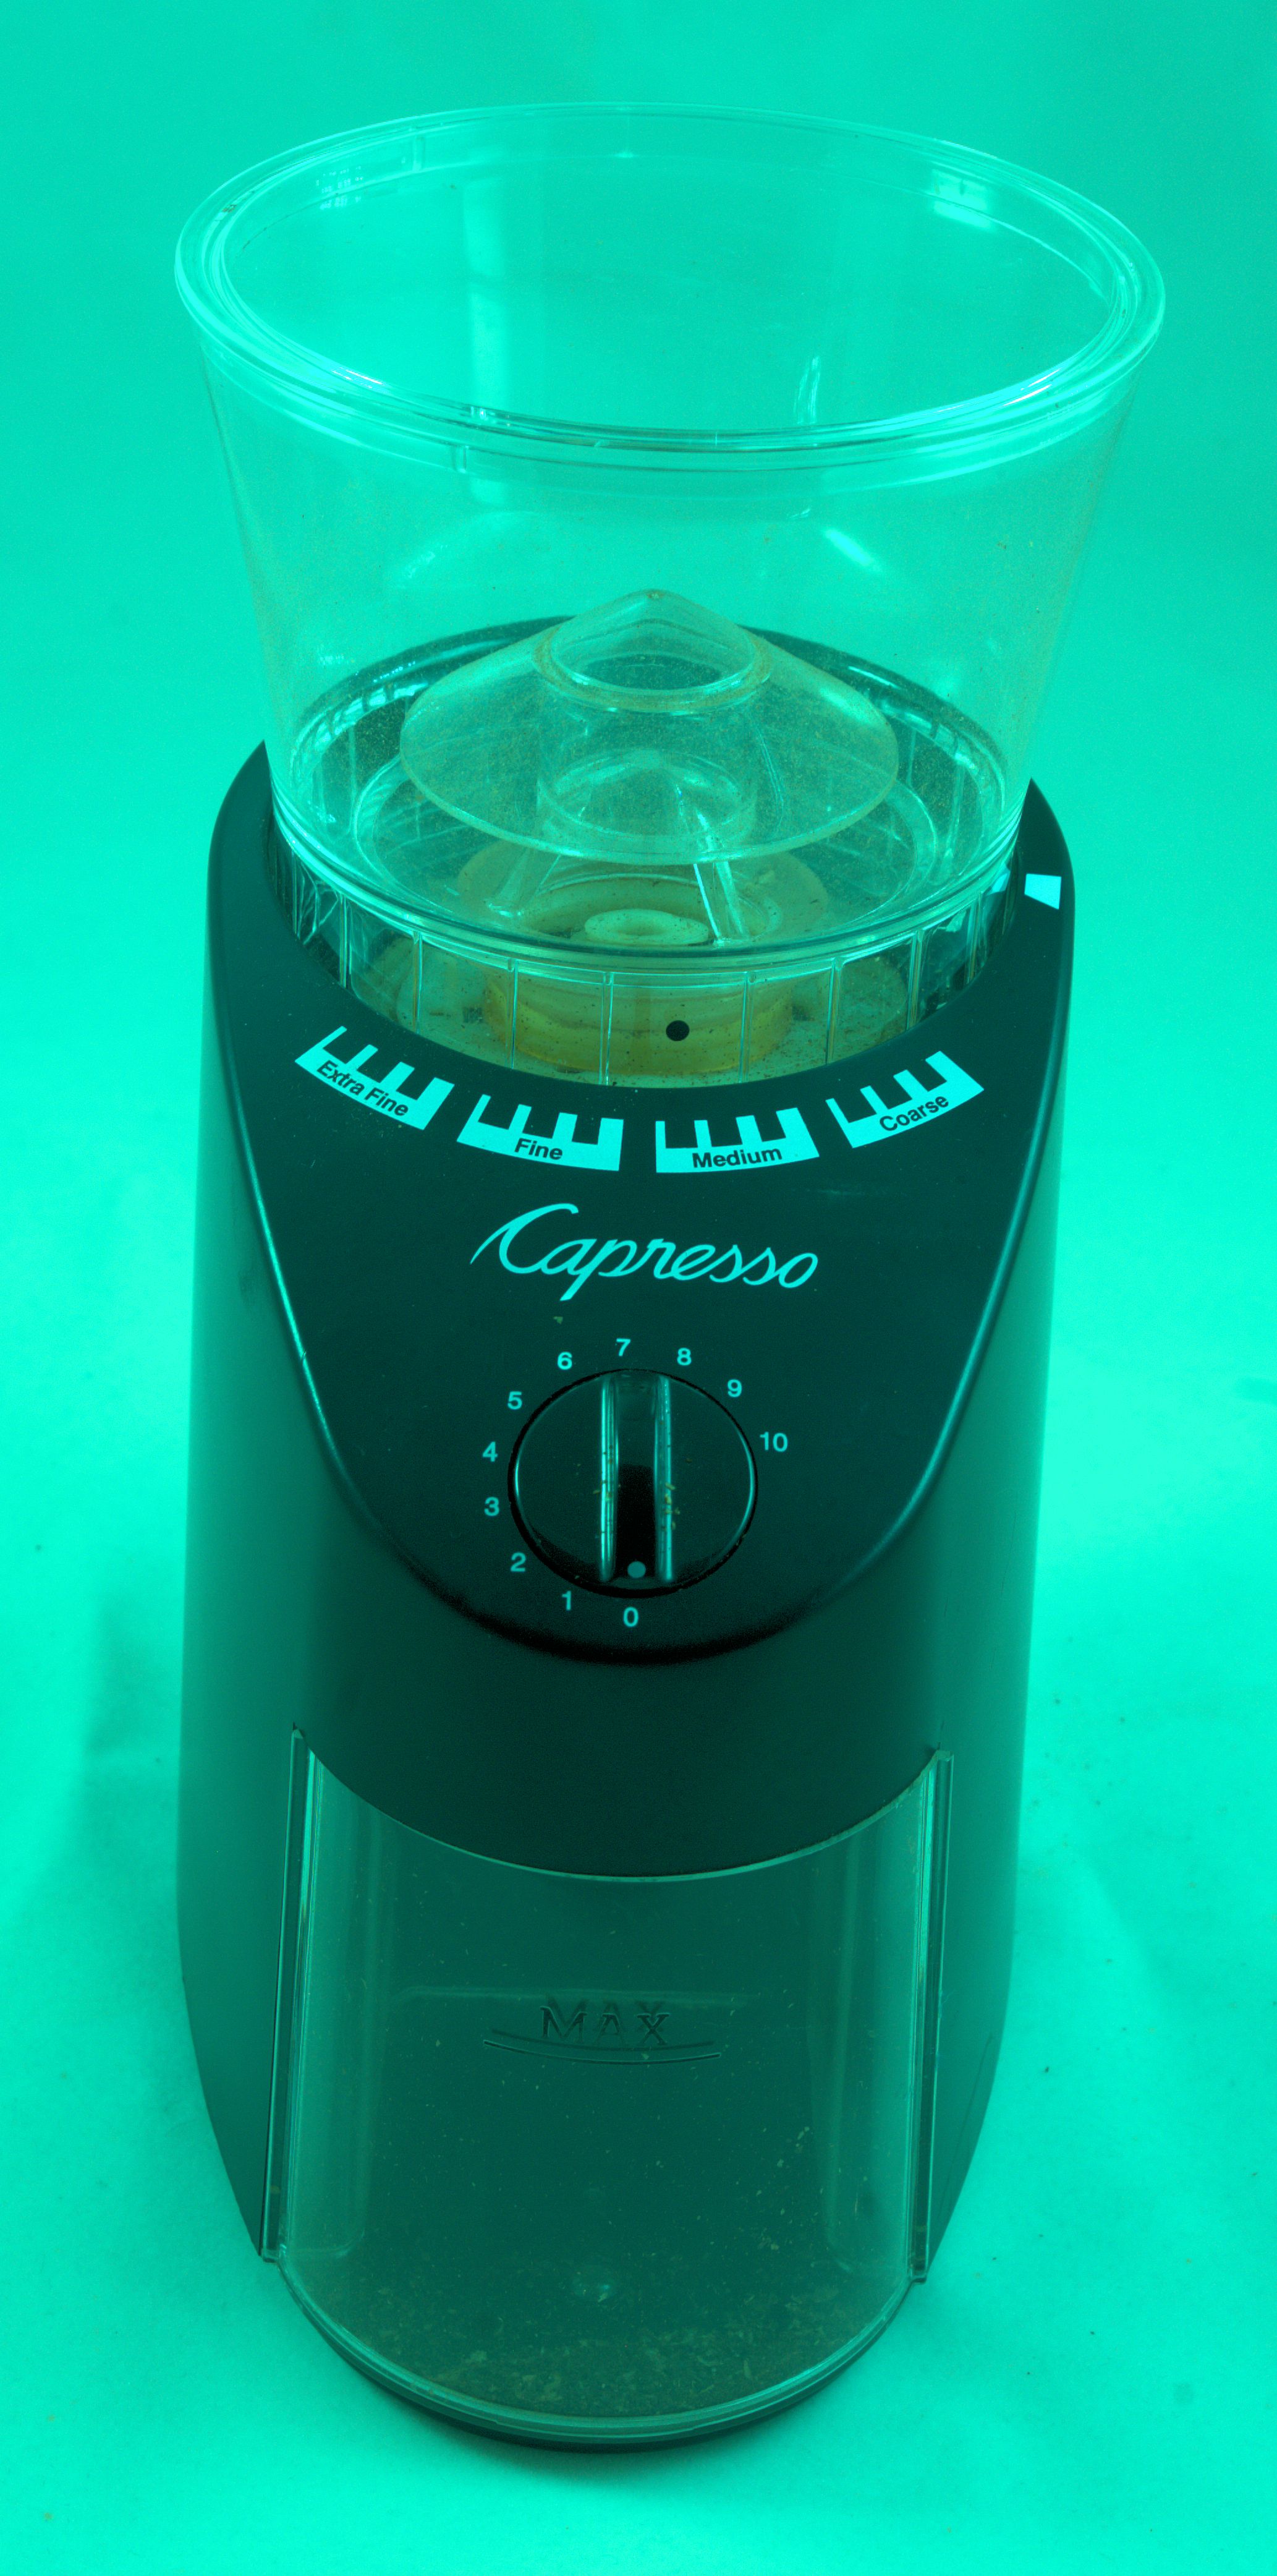
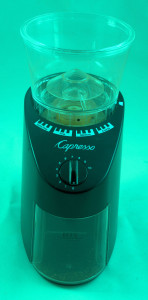 Capresso Infinity 560 Stainless Steel Conical Burr Grinder $99 The first one is from Capresso. Capresso actually has a long history in this product category. Started in the 1990s by Michael Kramm, an ex-Krups executive and now retired, Capresso went around and scooped up ex-Krups vendors and created some new and innovative products. Some are excellent and others are, in my opinion, okay but nothing special. This grinder was recommended to me by Michael himself, who while no longer working at Capresso, apparently still follows them and thought highly of it. I requested a sample and have been using it quite a while before being able to test it.
NOTE: There are two very similar Capresso grinder products. What differentiates them is the burr material, which does the actual grinding. One is ceramic. The other stainless steel. My industry contacts have told me that stainless is generally acknowledged to grind more consistently at coarser (medium drip through French Press) grinds. I asked for Capresso’s stainless steel grinder.
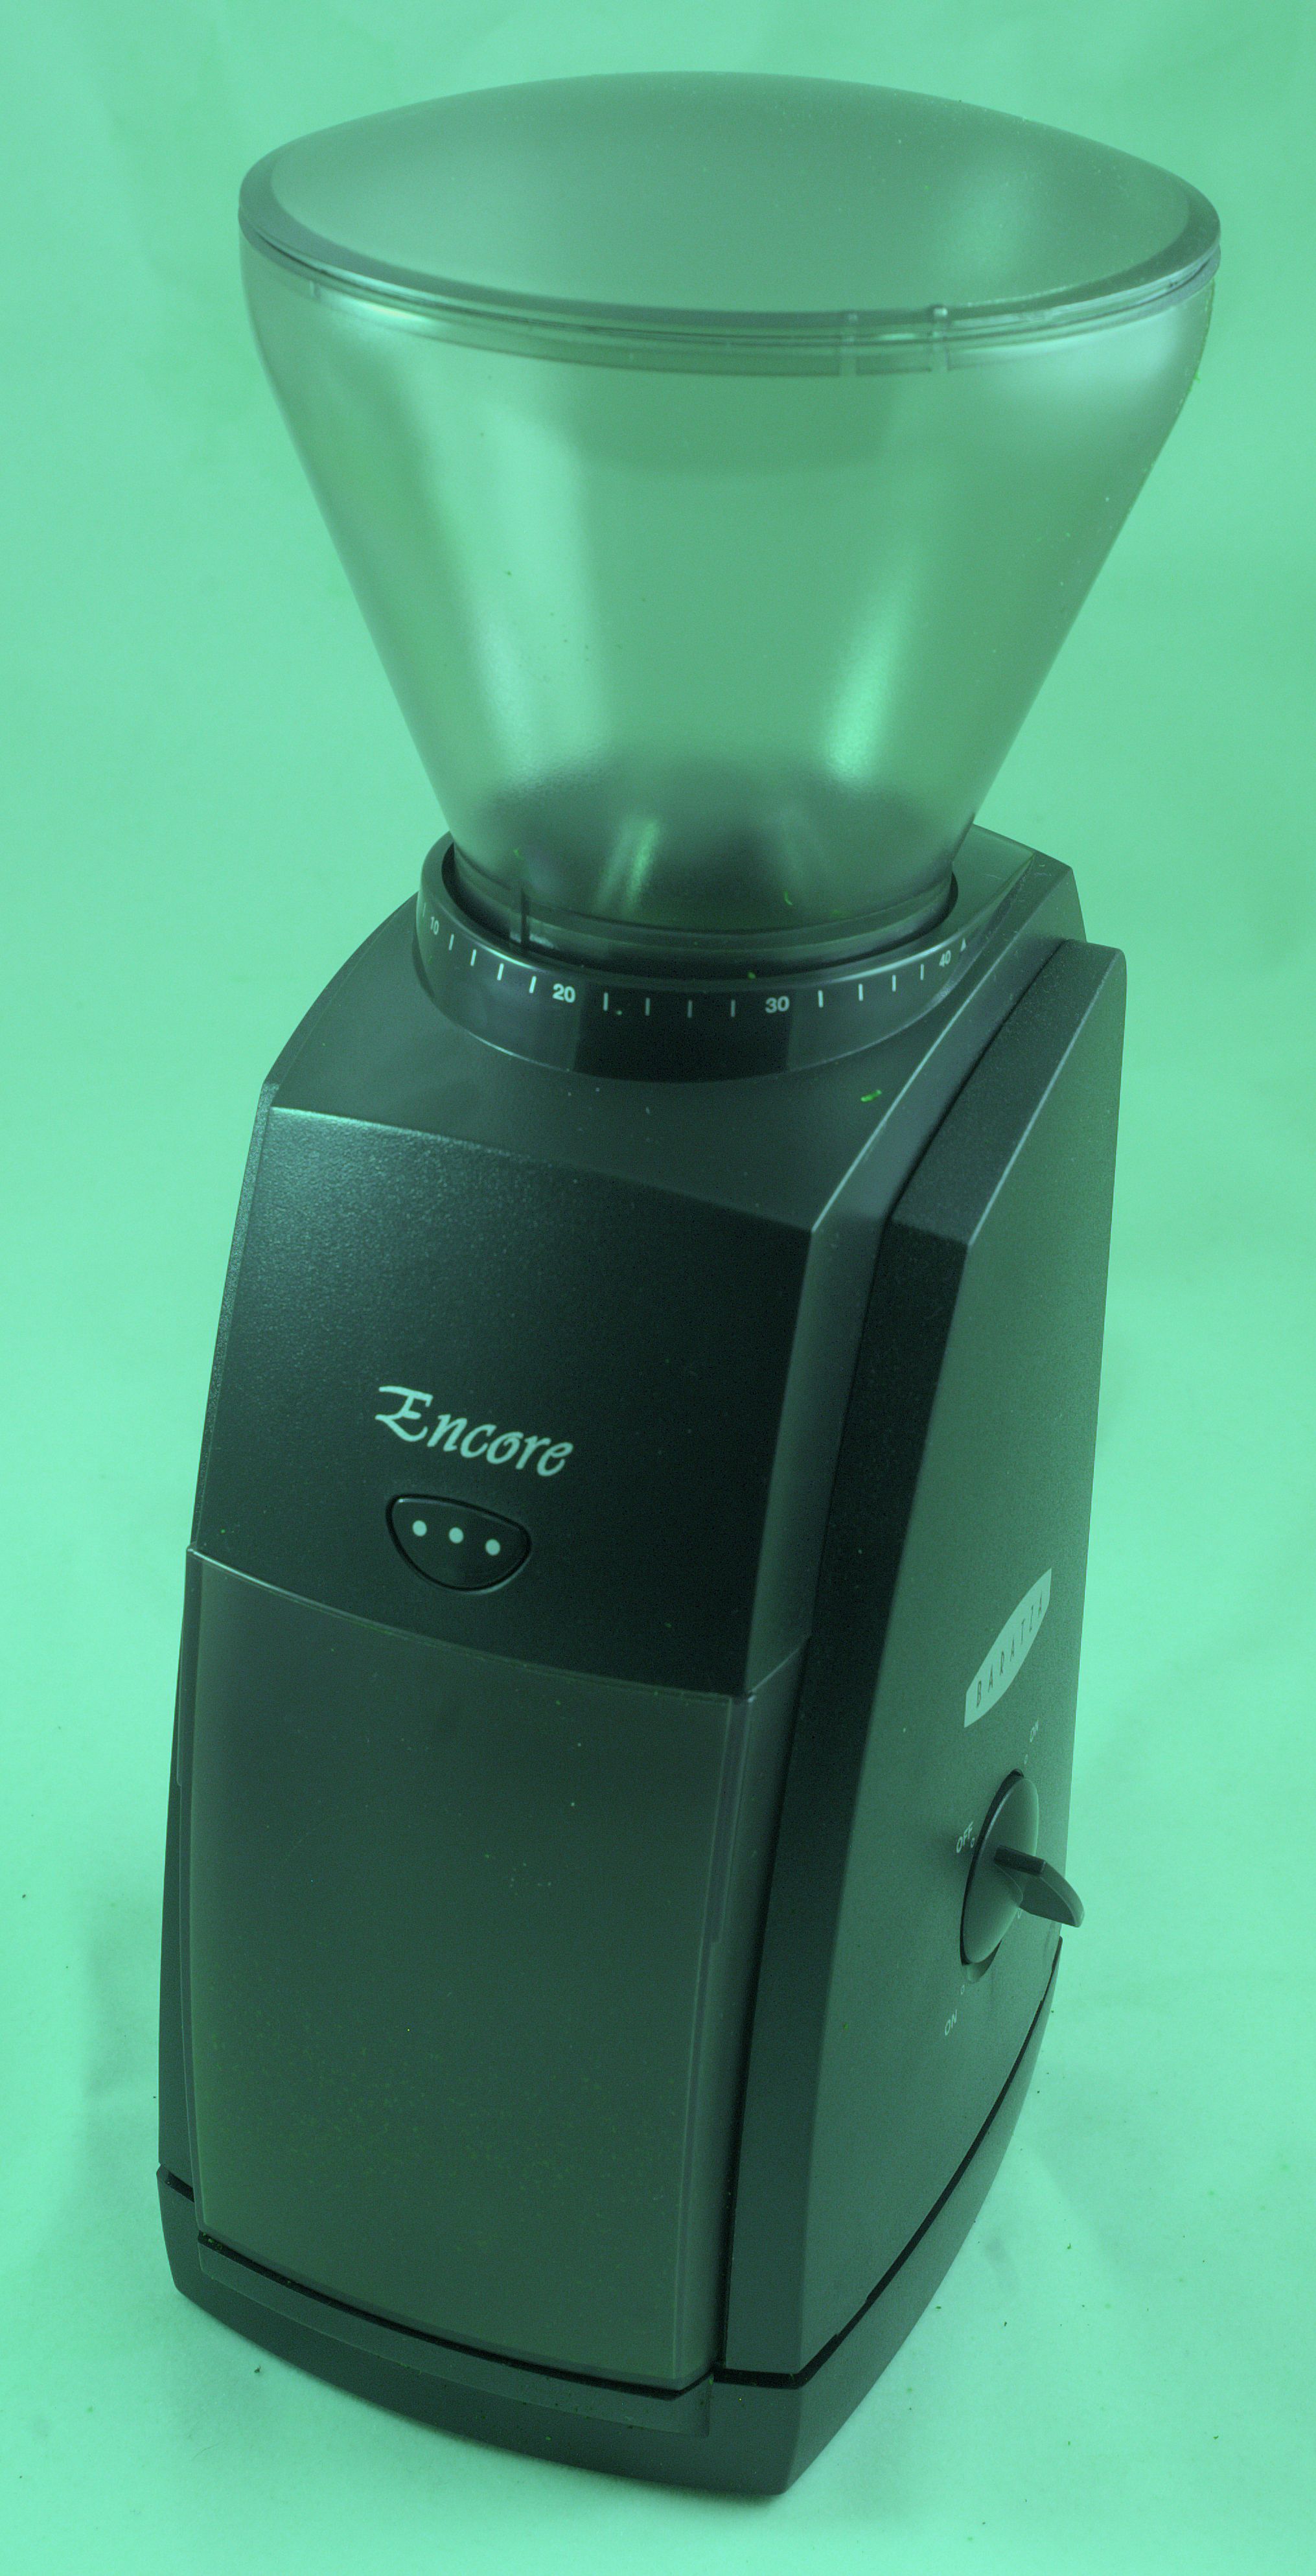
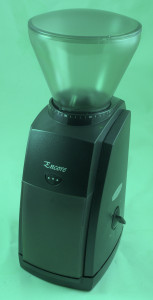 Baratza Encore Conical Burr Grinder $129 The second model is from Baratza. Baratza practically owns the grinder market in the specialty world. Industry regard for their products is high enough that many shops use their costlier grinders, even though they are clearly aimed at consumers. While I’ve always assumed Baratza makes their grinders, I’ve noticed multiple countries of origin credited on their products. Do they really have multiple plants, or are they outsourcing? The model I tested is made in Taiwan, and uses a different burr set from the pricier Virtuoso models. However, Baratza is the leader and I was half expecting it to shame both the others, based upon their company’s reputation.
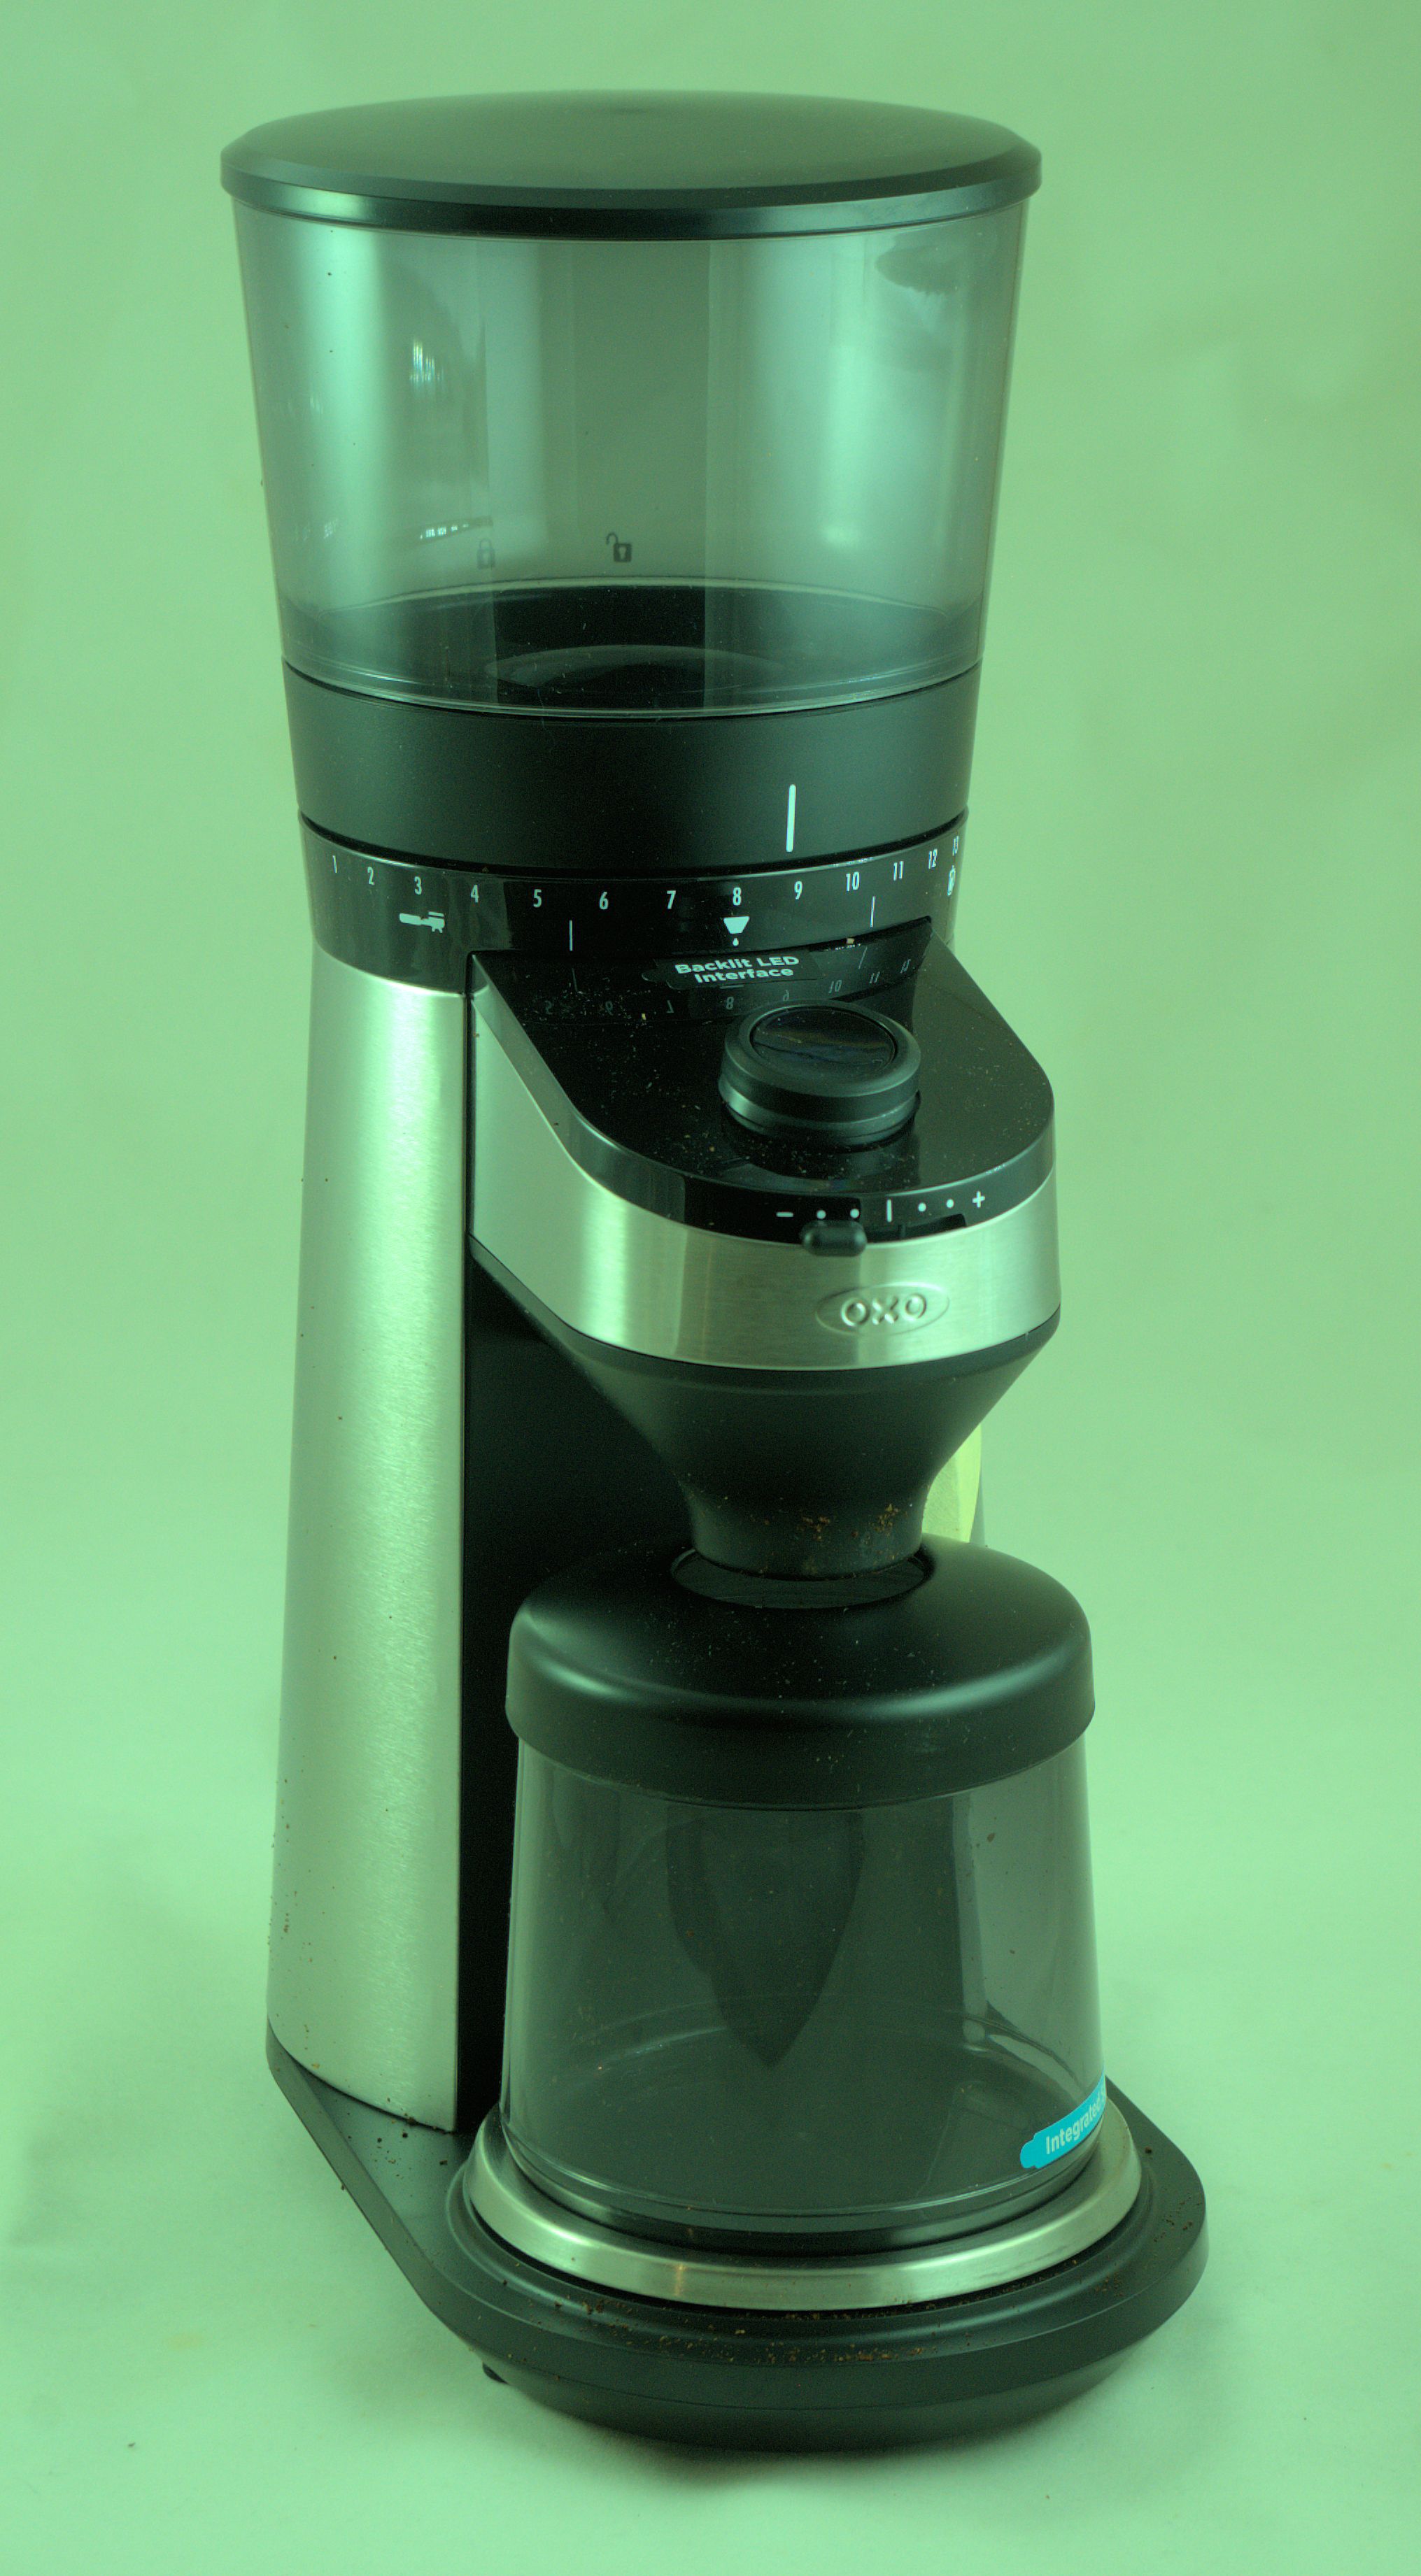
OXO ON Conical Burr Grinder $199 The final model I tested is from the new kid on the coffee gear block, but one you’ve no doubt heard of in their other categories: OXO makes those soft-handled kitchen gadgets that populate the kitchen hand tools section at Bed, Bath and Beyond. Suffice it to say I was more than a little surprised when I spied OXO at last year’s International Housewares Show brandishing prototypes for both coffee brewers and a grinder! Before these tests I had no impression of OXO’s design or manufacturing prowess. I owned but a single product of theirs; a non-powered can opener. Needless to say I was eager to test their first grinder.
 Features compared All three of these grinders are more similar than dissimilar. They all feature simple overhead bins where beans can be stored and twist gauges to adjust fineness. The OXO grinder has one feature that is unique, even when compared to many costlier grinders than the others in this survey; An onboard scale.
Build quality and feel Again all three are similar, in that I could not predict which if any would fall apart or lose its ability to meet specifications by a certain date. If I were to nitpick, I’d suggest the Capresso had a slightly ‘plastic’ feel to it, but I’m not at all sure that another tester would feel the same way. Might be my taste. This is good news because it makes it simple to compare and decide for the right reason: which one grinds coffee the best!
Grind tests I brought all three to Modern Process. Modern Process makes many of the world’s industrial grinders. Name a large roasting plant that packages pre-ground coffee and I bet you they use grinders from this company. I’ve known Dan Ephraim, their CEO since I first wished to write about coffee. He was literally the first industry person I met. We are friends and he and his tester, Rasmy, conducted several tests with each grinder, using beans from Euro Coffee in Los Angeles. Then, each sample was place in a ro-tap device. In case you’re new to testing grinders, this device is a series of screens. The idea is to analyze what percentage of grounds are what size, so we can compare grinders to a theoretically perfect standard and also between each other. The best grinder is going to be one that has the largest majority of grinds that are the ideal size, with smaller percentages of smaller and larger sized ones. We set each grinder for what we all agreed by eye was a drip grind. The best grinder in this test was the Capresso. But, just as significantly, the others were darn close.
Conclusion I could live with any of these three grinders. They are all good choices. I was surprised at how similar, rather than different they performed. Baratza has done a good job with their entry level grinder, but it is not superior to either of the others. The OXO has the very useful scale feature, which will be a deciding factor for some, and helps simplify the measuring process, where many mistakes are made, so it is fairly associated with quality. Capresso leads the pack in both grind quality and price. Considering I’ve owned it the longest and used it quite a bit, it’s already proven its longevity and value. Just a few years ago, coffee enthusiasts would justly complain that there were few grinder options for the less well-heeled. Thanks in part to these three brands, this is no longer the case.
#Capresso
by Coffee Kevin | Jan 25, 2015 |
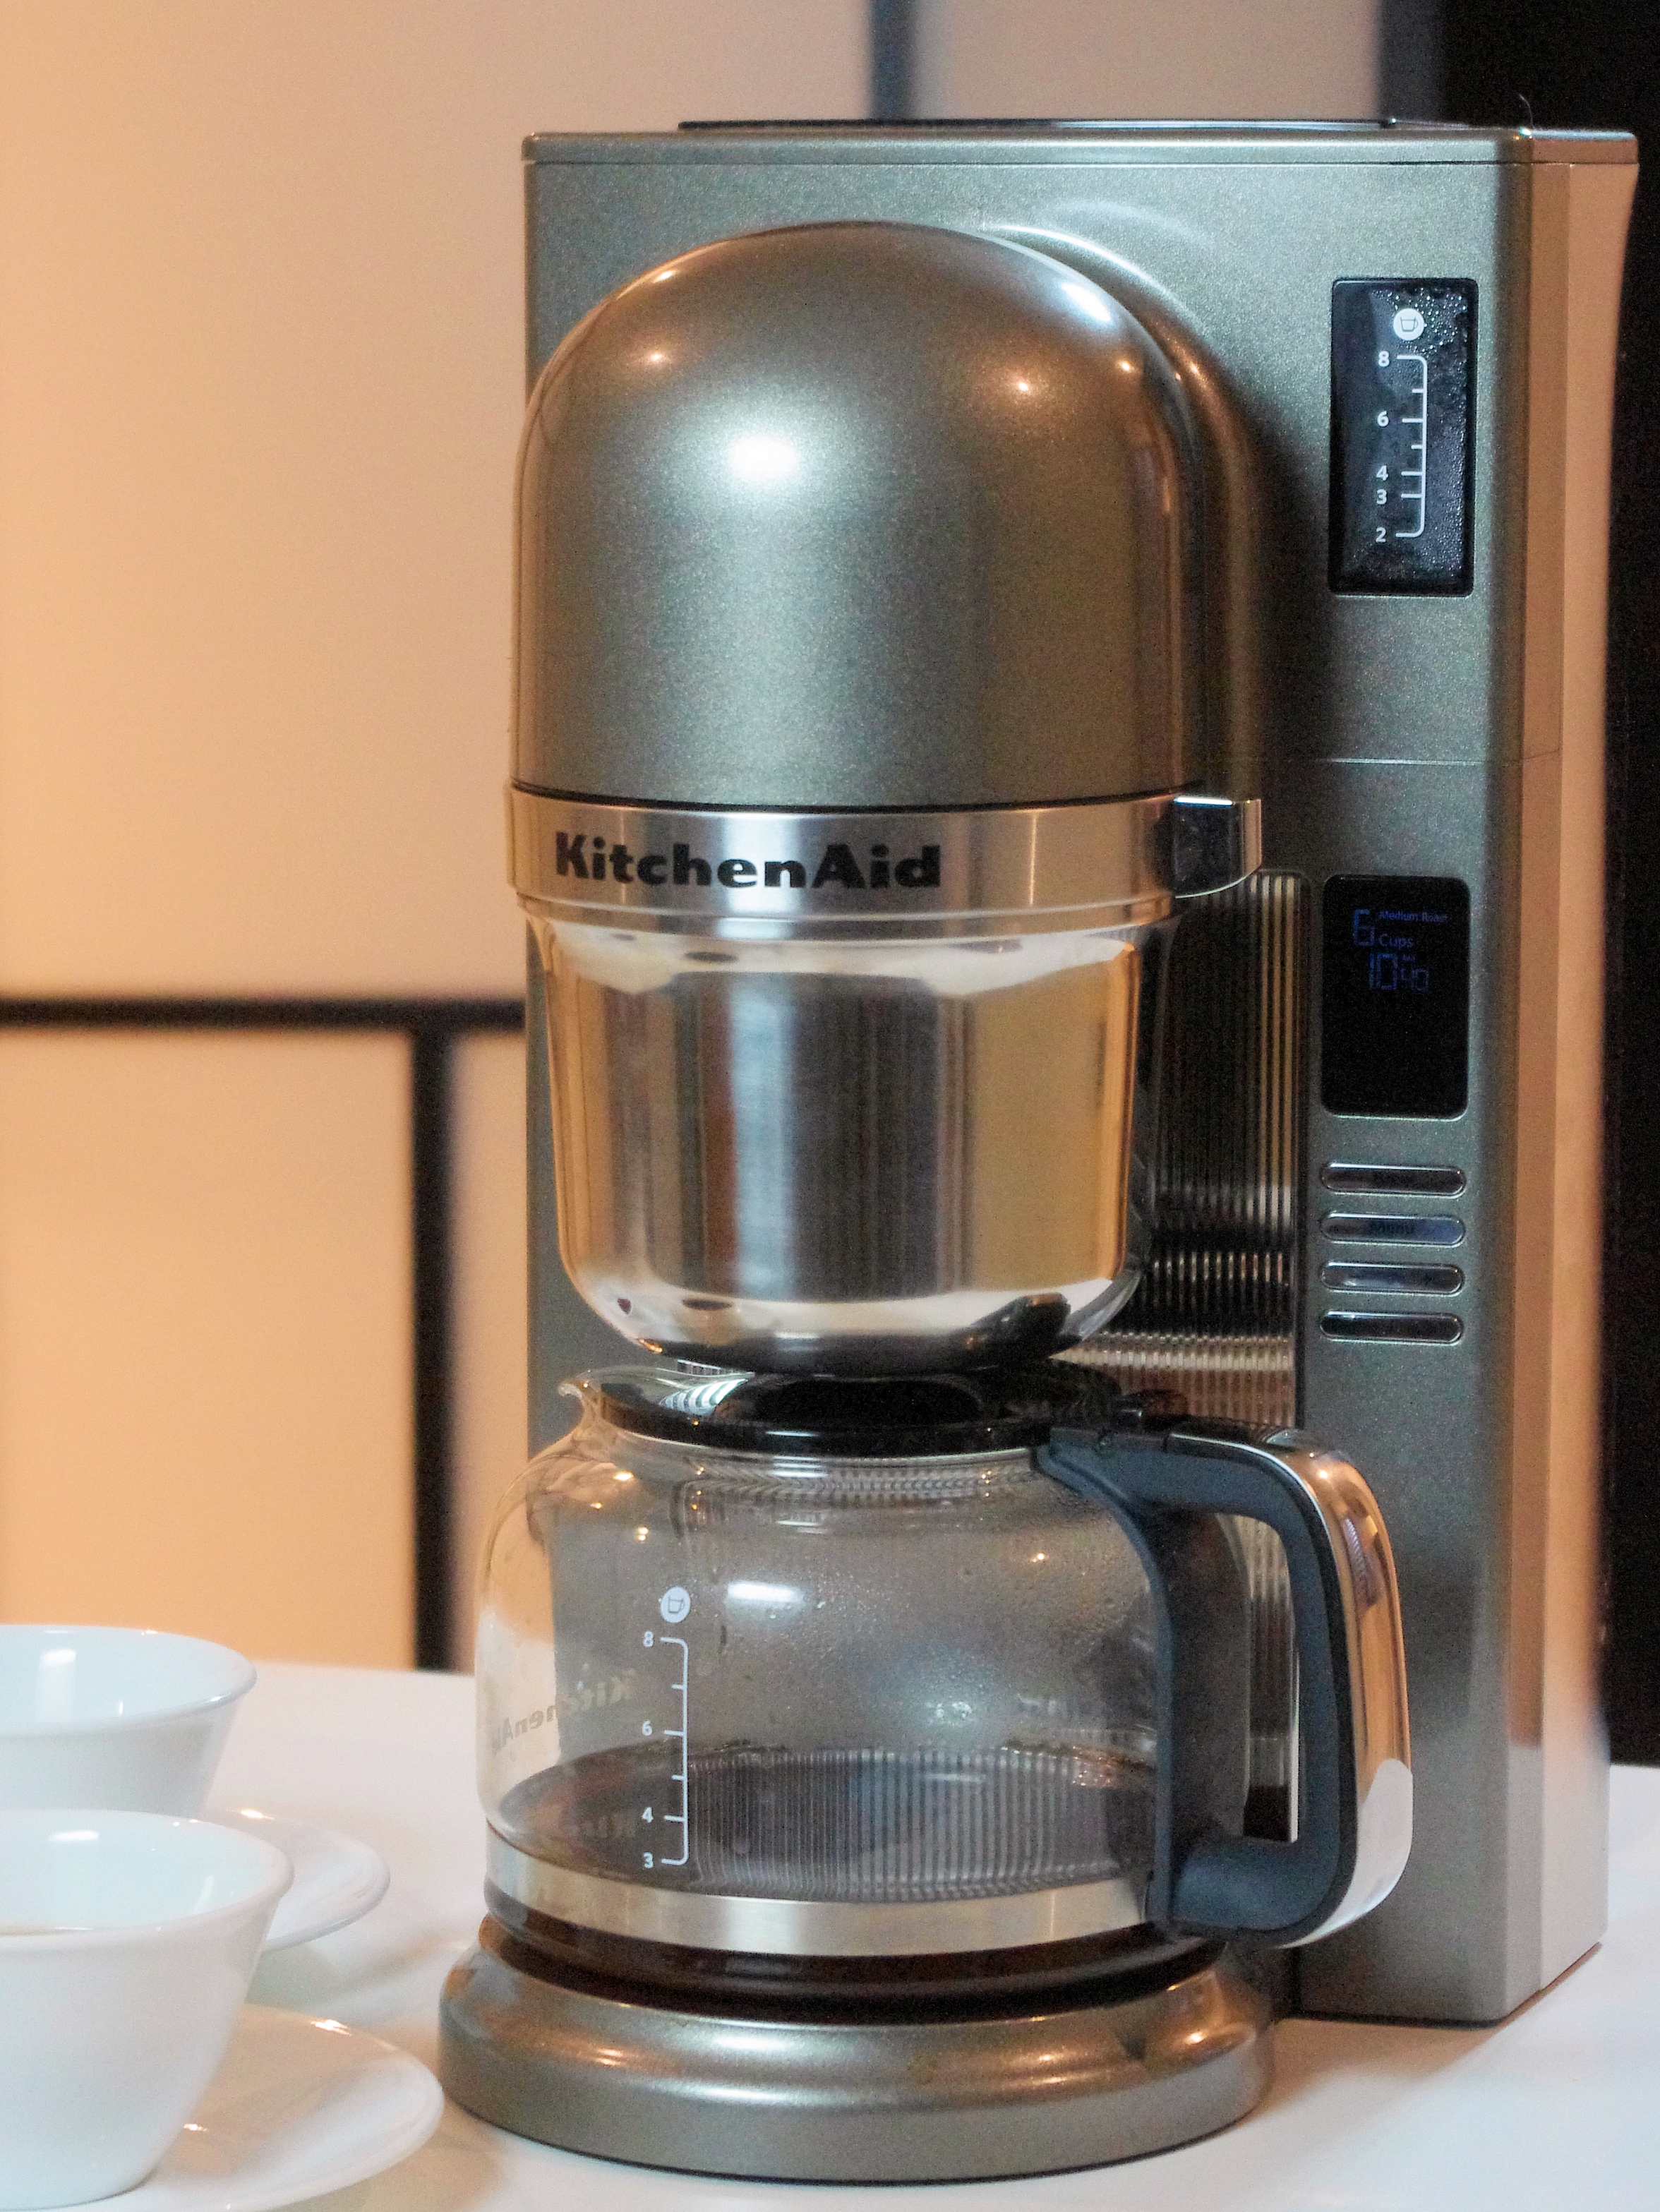
 KitchenAid’s new 8-cup automatic drip Coffeemaker is proof that appliance manufacturers now take coffee making parameters as seriously as they do any culinary art. KitchenAid has long been a coffee innovator, with high build quality and within reasonable price points. This new model has literally been years in the making.
I visited them during summer 2012, during which time their four person design team held a therapy session, where I lay back and told them everything missing from most coffeemakers. Just kidding about that part, but suffice it to say, I left feeling unburdened and they went to work building it.
Sure enough, they brought it to this year’s CoffeeCon San Francisco and Los Angeles events. I recall making a beeline to taste a cup. It was good enough that I requested a model for my long-term at-home tests, from which I made review judgments.
This KitchenAid model has several important features:
• Pre-infusion stage. It dribbles a small amount of water, pauses to allow ultra fresh coffee grounds to get wet and exhale their carbon dioxide.
• Intermittent brewing throughout the brewing process, just like you instinctively do using a manual drip coffeemaker. We’ll talk more about this in in a moment.
• Two brewing temperatures. A higher one is just over 200°F, and optimized for lighter roasted (most Third Wave) coffees. The second, lower temperature setting stays under 200°F and is optimized for darker roast coffees. It’s up to you of course, as it’s so cutting edge that there’s hardly consensus on this subject. Suffice it to say, it’s amazing to see a big brand acknowledging the standards and then going a step further by offering you a choice of two brewing temperatures within those standards. Again, this is sophistication on par with manual brewing geeks.
• Perhaps the biggest news is that the KitchenAid meets SCAA (Specialty Coffee Association of America) brewing guidelines, which are stringent. This means a temperature spec (range: 196°-2015°F), within the given drip time spec of 4-6 minutes.
• Cup number setting. This at least promises to be an attempt to prefigure brewing algorithms so you and I don’t have to. More later, but this just might be their most important feature – if it does what it I think it promises.
First, let’s get this out of the way at the start – most so-called automatic drip brewers are one size brewers that are, by modern standards, not very automatic. If you make a full batch, they do well, maybe even very good, but most coffee enthusiasts eventually discover a manual coffee maker makes better coffee, since you have to figure out each parameter. But still, there’s a need for an automatic maker, because everyone, myself included has something else to do other than make coffee. It’s easy to operate. Just choose your cup setting. I had to get used to it, but the first thing you must do is select your desired cup batch size, but pressing plus/minus buttons. Then press whether you want light or dark roast (higher or lower brew temperature). Then hit brew and you’re ready in ten minutes, no matter what batch size.
How did it do in my tests?
Pre-infusion – The KitchenAid does really do this, but it’s still a best guess. As everyone who brews with manual drip brewers knows, this time varies depending upon how fresh your coffee is. KitchenAid designers chose a reasonable pause. It won’t please everyone, but in my tests, it did a good job of allowing most grounds to rise and fall, and then repeating this drip, pause, drip sequence throughout. Only at the 8-cup setting using extremely fresh roasted and freshly ground coffee did I get any foaming that left residue at the top of the brew basket (near showerhead). Most times it was not a problem.
Intermittent brewing – Part of the benefit of continuing to drip, pause and drip throughout the brewing is let all the water drip through before pouring more water onto the grounds. It seems to achieve a better, more thorough extraction. The KitchenAid did not disappoint. I’m sure there are some that will say their manual drip pours are better still, but for many, this brewer will deliver everything they want from their coffee.
Brewing temperature – Here KitchenAid has done itself proud. Its brewing temperature stability is as good or better than most manual drip, especially if you’re using a traditional kettle. If you’re using a kettle with settable temperature, the KitchenAid still matches or exceeds it, but the difference might be unnoticeable. Still, kudos for the two temperature choices and stability.
Cup setting – Many don’t realize that every automatic drip coffeemaker is optimized in contact time for one size batch. Larger batches will take too long, resulting in bitterness/excess strength; smaller batches mean faster (too fast) contact times and resulting weaker brew. This is simple math. If you baked a half batch of cookies and shortened or lengthened baking times, you wouldn’t expect them to taste right, would you? All drip makers, even manual ones have this challenge. KitchenAid seems to do some adjusting of the drip rate inside to accommodate the changing times, so it lessens it. I’d say they’ve make it work overall. The batches I made between four and eight cups were all between four and six minutes in overall contact time (this spec does not/should not count the time the water is heating with no contact). At the two cup setting, the contact time was not long enough. Keep in mind the cup quality may vary between 4 and 6 minutes contact time, but overall I was satisfied.
There are little tweaks you can try such as grinding a notch finer for fewer cups, or simply upping your grounds to water ratios a gram or two. I’ll leave it to others to explore these options. I settled on 6 cups for most of my tests over a month’s use and found it delivered excellent coffee at all settings between 5 and 8 cups, coffee on par overall with my manual drip brewers.
A couple of extra notations:
• The KitchenAid coffeemaker’s sound is quieter than most other automatic drip coffeemakers and its sound is subjectively nicer.
• KitchenAid is to be commended for offering detailed grounds to cup measuring recipes in their well-written instruction book.
• The water input at the KitchenAid’s top is too narrow for my tastes. I occasionally spilled water while filling it. Maybe it’s just me.
• I routinely filled the water tank exactly to the intended batch cups mark, and found the resulting brew on the carafe at brewing’s end was frequently less. I realize this may be caused by steam loss, but I found it works better to always overfill above the water mark.
Here are a few taste test highlights: I was fortunate to pick up a sample of Martin Diedrich’s Kean Coffee at CoffeeCon L.A. It was a slightly darker roast than most Third Wave roasts, and, (gasp) in my opinion, the better for it. It really shined, especially with using the lower (but still SCAA-approved) temperature setting. This kind of coffee really has that chocolate taste (cliché though it seems) and that temperature just seemed to highlight it.
Another treat was Counter Culture’s latest Ethoipian in a new package. This one really called for the higher temperature, but fully matched my expectations, with a fruitiness and acidity this coffee brewer brought forth in all its glory.
A surprise hit of CoffeeCon LA’s roasts was Temple Coffee’s Panama Geisha. Oh my Lord! What a coffee!! I did two batches concurrently. It was so good I went past my limit. The high temperature was my preference, but it did splendidly (albeit differently) in each. Note: I found a perfect formula for me was to make six cups, using 50 weighed grams of beans, medium-fine grind. The slightly less than full batch allowed even the freshest coffees to brew properly, and gave us a perfect way for Pat, I and a friend each have a couple of cups each.
The KitchenAid 8-cup is highly recommended.
by Coffee Kevin | Jan 2, 2015 |
 I realize this article will be read mostly by coffee enthusiasts already so involved in brewing that they likely have their own views regarding brewing, and its three most important variables: time, temperature and grind particle size. But, lately there’s been dissention over what for many years appeared to be consensus among the trade. As brewing as an art and craft (hence my book’s title) has developed, there are those who question the basics.
Questioning the basics is, I think, a good thing. Anyone who’s been in family counseling knows it’s a healthy thing to revisit how you divide labor. When it comes to processes, it’s a good thing to reconsider the variables. My observation is that coffee brewing is still being analyzed. Don’t forget that as roasts, types of beans, brewing methods and consumer tastes change, it’s a good idea to do a few experiments. If they confirm the basic parameters, so be it. But, they may not, and why keep doing something wrong?
Historically, much coffee was boiled. I can think of all kinds of reasons for this: pre-chlorination food safety, ease – the bubbles tell you the water’s ready, and thrift – the cheapest way to maximize extraction strength is to use the highest temperature.
The Coffee Development Group, or was it the Pan-American Coffee Council – some predecessor to the Specialty Coffee Association of America (SCAA), did extensive testing, using food experts, not just coffee folks, which resulted in the standards that have been in place for many years.
They include:
• Grind size specifications, basically finer for short extraction times, coarser for longer ones. The current challenge with enthusiasts likely to grind at home, is how to confirm this. It used to be written right on a coffee can.
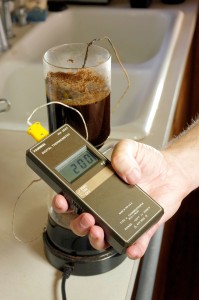
• Brewing Temperature – It’s easy to tell consumers: “Under Boiling”. Everyone seems to get that now. The last percolator I came in contact was in my late Aunt’s estate sale. BTW, 195°-205°F just tightened to 196°-205°. The extra degree may or may not matter to you, but according to my little birds, the US and European specialty coffee groups wanted to share the same standards for a variety of reasons.
• Contact time – In my observation, this is the one most difficult to control, partly because it’s so difficult to measure, especially in intermittent drip methods. Ever tried?
Recently, I’ve run into a number of enthusiasts, baristas, brewer designers, who complain like music composition students do about tonal scales. Recently, I was sitting in the office of one of the most influential big-coffee business owners, who many would say personifies the word establishment and he told me he believes 200°F is too high a brewing temperature. I’m sympathetic. After all, what kind of thinker would I be if I didn’t like to challenge rules? “Question Authority” – That’s my bumper sticker!
But, I’m here to re-commit CoffeeCompanion to following the rules, at least for now. We need some kind of reference point, or a dialogue is useless. The fact is that a great number of culinary experts were consulted in creating the standards. These folks had taste buds. This wasn’t a casual industry lock down for convenience.
I will always challenge the established rules. I will also follow the standards and use them for my tests. I may expand my tests in certain instances but I will always strive to identify those instances.
Meanwhile, I urge those of you who are doing your own home experiments, playing with brewing parameters to customize your methods to your individual tastes, a worthy pursuit even within the parameters, to start off following the standards. If you decide your Chemex or Aeropress tastes milder, better straight (minus cream or sweetener) when brewed at 180°F, no one is going to take the children from your home.
But, as my music theory teacher said to us in college, “Learn the rules so they can be broken by design, not ignorance.”
We are living in a golden age of brewing. There are all kinds of new brewers, the re-discovery of old ones. The profession of barista confirms that the industry gets that how its coffee is created in a coffee establishment makes a difference. Remember: Wine tastings don’t need bartenders, but coffee tastings need baristas.
CoffeeCon, my ‘lil ol’ coffee show is great fun, but I have an agenda as plain as Karl Marx at a school board meeting. I want consumers to discover coffee as a culinary art and invest the same passion they do into cooking into brewing their coffee. Anyone can do a coffee tasting. We are a coffee university.
So, just FYI, I will keep taking any coffeemaker’s temperature, use a stopwatch to check how long it subjects your (ever-increasing-in-cost) ground coffee to hot water, and play with grind and include those results in my reports.
by Coffee Kevin | Sep 9, 2014 |
 Recently, I reviewed every brewing format in the U.S. I freely admit I was previously strongly biased against pods in general and specifically the K-Cup, the number one pod format. My reasons weren’t simple connoisseur snobbery, but cool analysis based upon the following industry givens:
- Coffee must be brewed within two weeks from roasting.
- Drip coffee must be brewed over four-to-six minutes.
- Small batch, top-end roasted coffee isn’t available in K-cups.
Oh, and don’t forget this one:
- Anything too popular has to be bad.
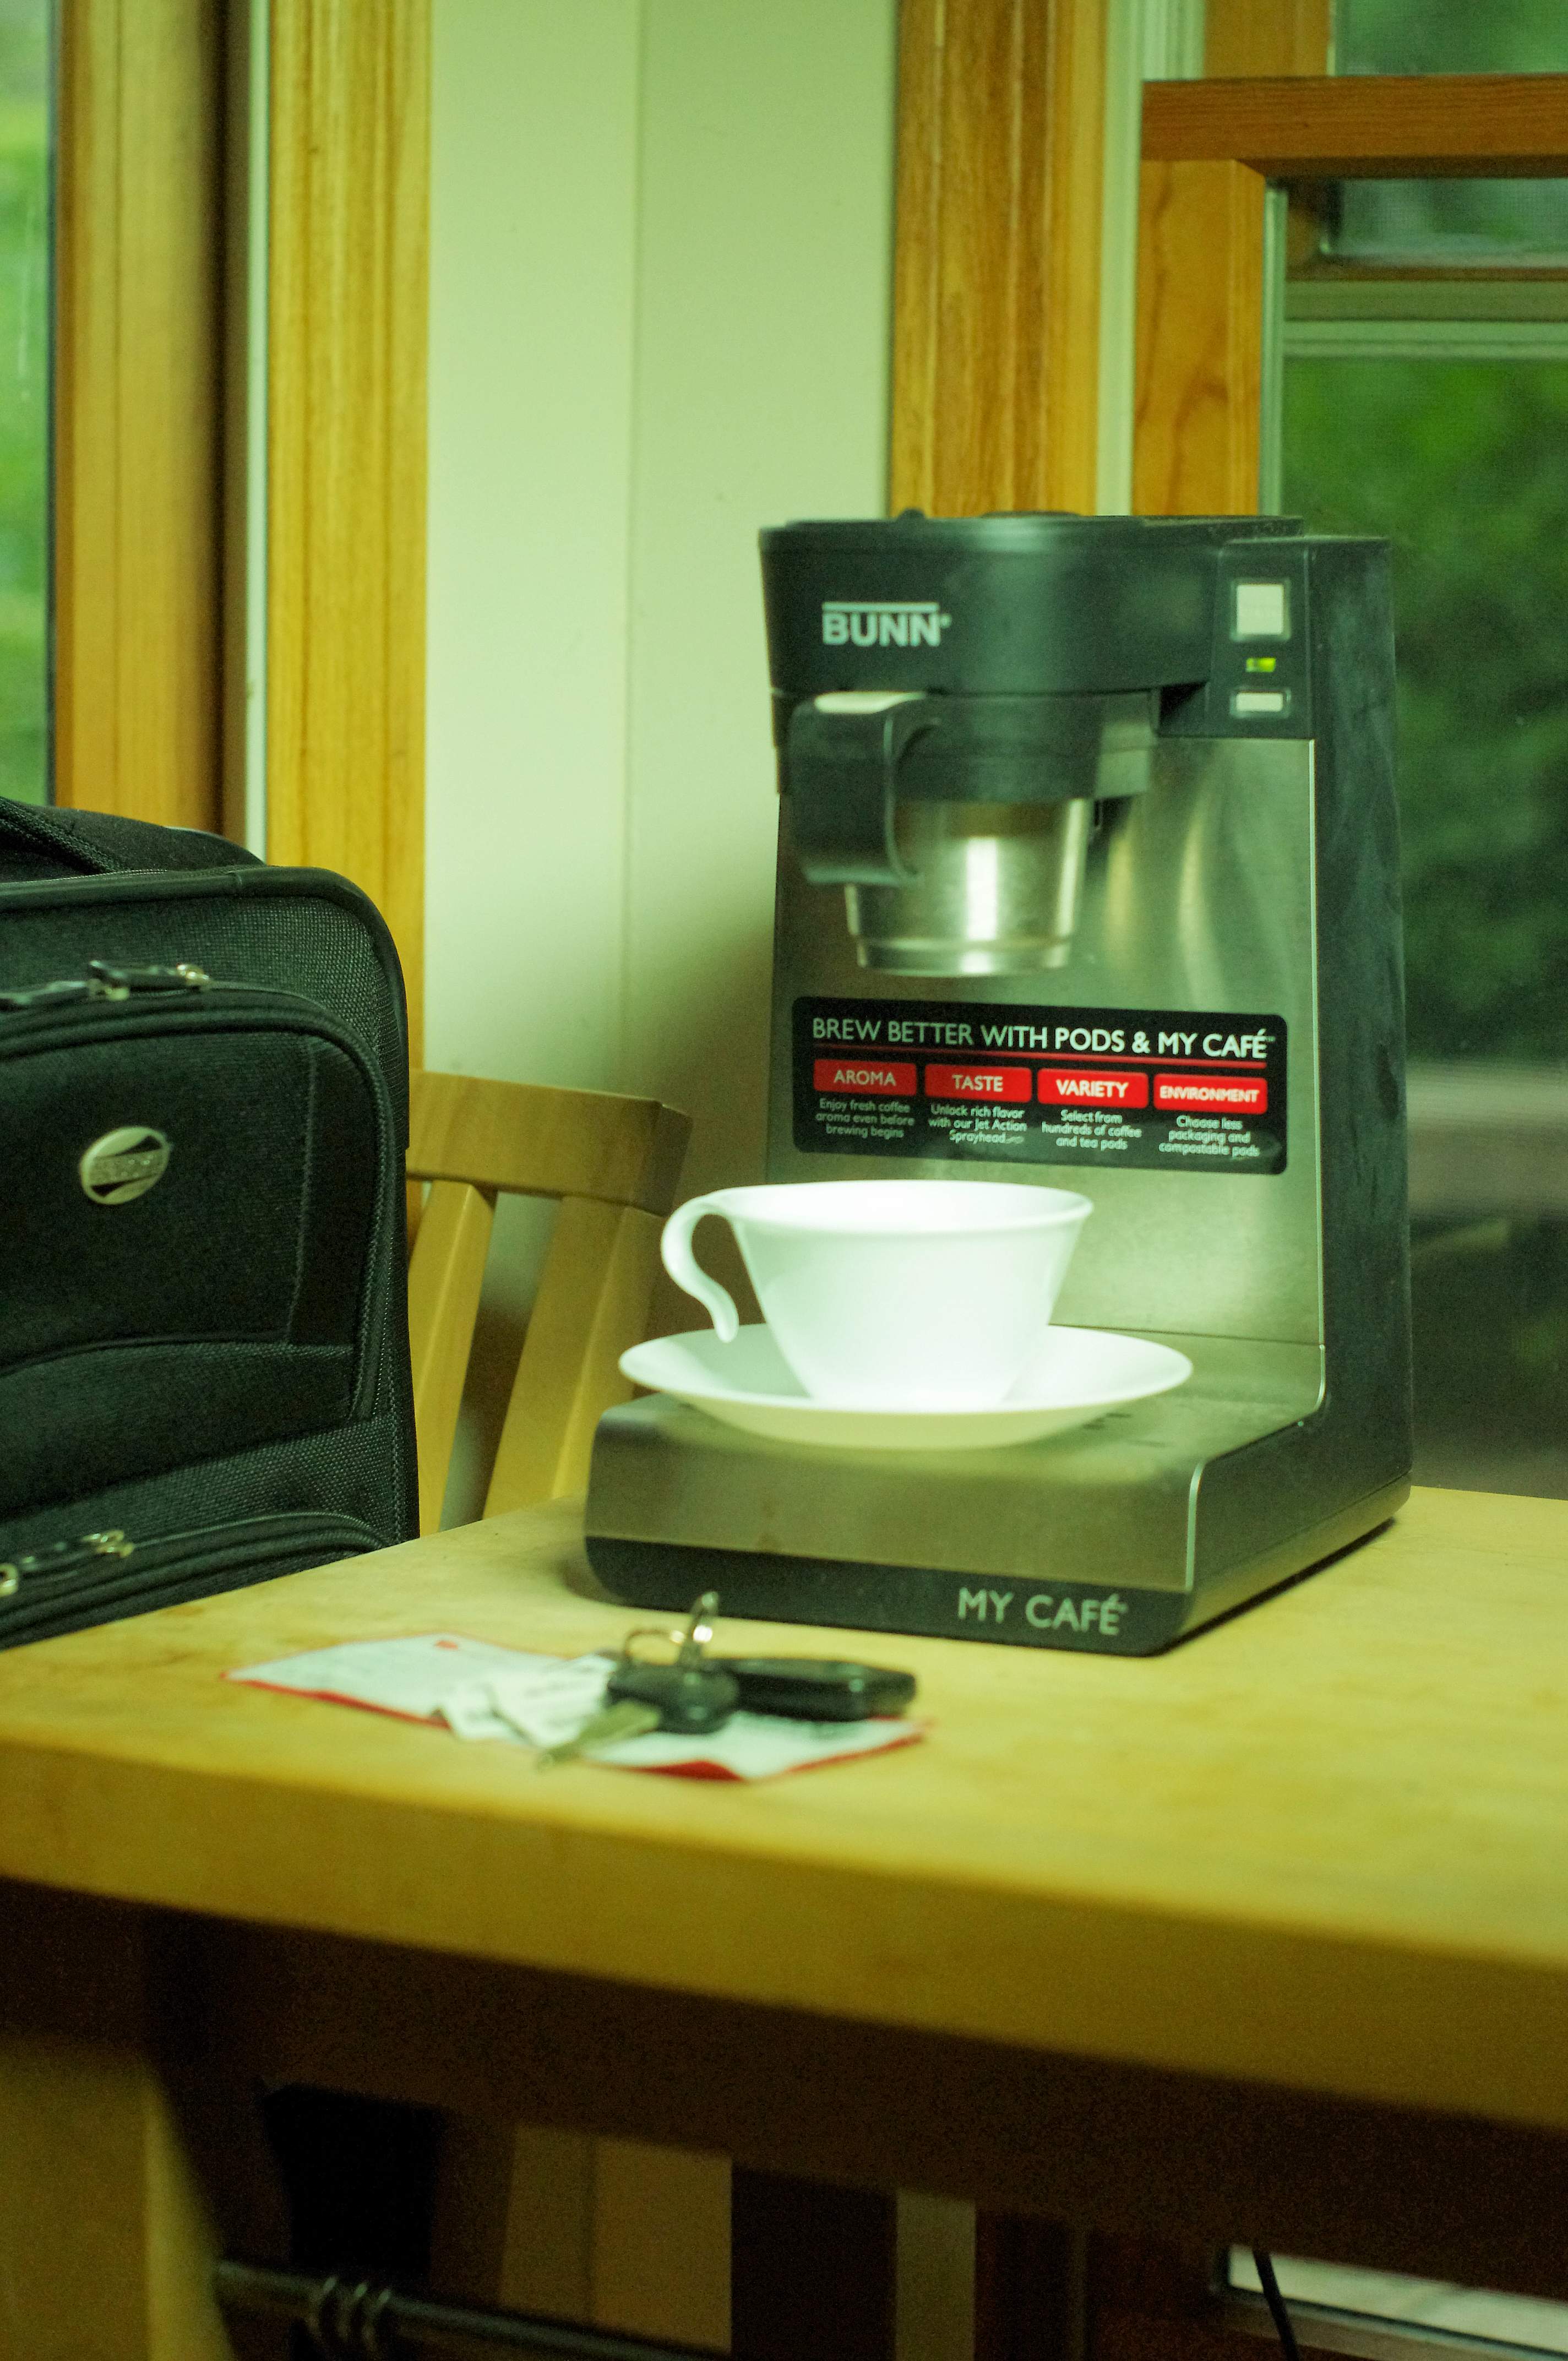
With me so far? Good. Now, a few things happened since then to open my mind to at least the possibility that K-Cups might be a viable format. First, there is the Bunn My Café machine. In my tests this one machine was heads above the others in its ability to extract coffee. Keep in mind that for years Bunn has specialized in three-minute extraction through its almost-power-washing sprayhead design in traditional drip machines. The My Café gets the water up to industry-standard temperature heights and somehow (I’m not yet able to see into the brewing chamber) this results in a much better-than-average cup.
Second, the K-Cup patent expired. This means machinery entrepreneurs will be exploiting the format, perhaps even beyond what Bunn’s done (Bunn’s was developed through licensing prior to the expiration). The patent’s lapse also means a wider variety of coffee brands will be free to flood the market with K-Cups.
Third, new smaller-run K-Cup packaging machines have emerged to make it cost-effective for local roasters to make their own K-Cups. This has caused a virtual explosion. While some specialty roasters are still keeping their distance, several have announced top quality coffees in K-Cups to the general public. This brings us the likelihood of neighborhood, fresh coffee.
Last but not least, there are new in-cup technologies. In some ways these are the hardest to understand, much less describe. Boyd Coffee introduced a new K-Cup of their own design at the 2014 SCAA Conference. Even with all the coffee samples I’d had that day, the Boyd’s design was night and day better than I’d previously tasted. Boyd’s has a new type of bottom to its pod that is closer to a traditional filter. While it seems like it would undermine the already-short contact time between hot water and ground coffee, it clearly resulted in a more thorough extraction.

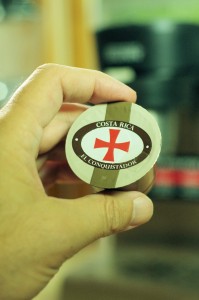
This travel photo shows why this pods are important to good coffee.
I finally tasted close to coffee nirvana later at that same event when I had a La Minita K-Cup. This design, as explained by CEO Bill McAlpin, utilizes material obtained from the surgical profession that is both slow to release but allows greater transfer of flavor oils, thus coming closest yet to what the industry calls “Gold Cup” standards.
I realize McAlpin’s coffees are already pinnacle specialty coffees that score in the 90s among coffee reviewers, but this cup truly floored me. McAlpin, more than anyone else I’ve met, convinced me he truly understands the entire process. His K-Cup’s design takes full advantage of every second of contact time inside the K-Cup (something under one minute!) and then that special material at the K-Cup’s bottom makes sure the coffee essence exits the cup in its full glory and into your cup.
McAlpin claims he’s done blind tests among the top roasters and they are unable to distinguish between their roasts brewed using a traditional drip brewer versus the same coffee prepackaged in his K-Cups! I can only underscore that I believe this might be possible using this technology and a top quality K-Cup brewer!!!
I’m sure that some jaws will drop after reading this last paragraph and my having written it. My position is I try very hard to be a coffee objectivist in what surely must be understood to be a largely subjectivist world.
I am certainly not urging anyone to discard their Chemex, Hario or French press makers for K-Cups, nor for that matter their Technivorm, Bonavita or Behmor traditional automatic drip machines. What I am suggesting is to consider what this offers in terms of consumer choices and the possibility of getting a good-to-near-great cup of coffee fully automatically and conveniently. Even I must have an option for those times in my life where the process is not the goal, but a necessity of my real goal: getting a savory cup of coffee. Such times are quick morning starts, mornings when I am heading to an airport for an early flight. Sometimes a friend drops by and we want to share the coffee, but not the time it takes to make it the manual multiple step way.
Let’s remain open minded. Let’s also retain a healthy dose of skepticism. I am simply declaring that it’s now been proven to me that it IS possible to get a very good cup of coffee with a pod machine. Once it is POSSIBLE, it’s just a question of determining how it was done, then doing it that way. Remember, The Coffee Companion’s mission is great coffee, not labor, nor for that matter technology. Stay tuned!
 Grind – If you’ve been with me for awhile, you know I advocate erring a notch coarser when using most brewers. But I also advise playing around with grind and, once in a while, it pays to just experiment a notch at a time. For instance, with this brewer I go one notch finer. That may be because I don’t usually make a full 8-cup batch, but rather fill the water only to the 1 liter mark. Just so you understand the testing procedure for SCA certification, brewers must make their coffee, start to finish, within six minutes. So when you make approximately 25% less, it’s likely that it will be a little rushed traveling through the grounds. I’ve found by grinding slightly finer I slow the drip rate and this increases brew strength. If I make a full batch I coarsen the grind slightly.
 Recipe Measurements – Consider that we may have gone from using too few grounds to using too many. Maybe this brewer does such an efficient job it does not need the requisite 55 grams specified for a liter of coffee. If you make one liter, I suggest you try using 50-51 grams. I found this to be the best recipe. I discovered this by accident as I only had 50 grams left of a particularly memorable ReAnimator coffee when a friend arrived for a visit and a cup. Since I needed to make one liter, I decided to chance it. To my surprise I preferred it using this formula.